Santa Punch Art

petal cone santa

I am sure you are wondering what in the world I am doing posting a Santa punch art tutorial in May! For those who are signed up for my newsletter, I am doing a series through Christmas geared toward organizing and preparing for the holidays early. Each newsletter has a section on getting ready for the holidays and each month on the 25th I am going to dedicate a post here with the same theme. The idea is to set aside specific day for working on creating the most fabulous holiday we can imagine. The series theme is A Pinterest Christmas, so you know we have a million ideas on that!  I chose the 25th of each month. Easy to remember. If you would like to play along, just sign up for my newsletter for the entire series. You can sign up by filling out the form in my side bar.

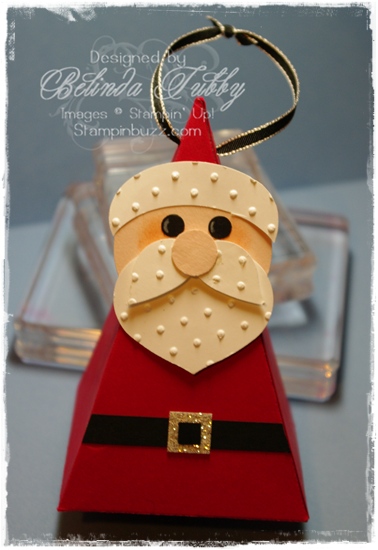
I was asked to share a tutorial for this punch art  Santa as part of the series. Since this ornament punch is retiring at the end of this month, I decided that I better hurry and fit it in now! Originally I used it on this petal cone die box (also retiring, which makes me very sad!). This tutorial shows an additional step or two for creating a hat for the santa.
Picture 40

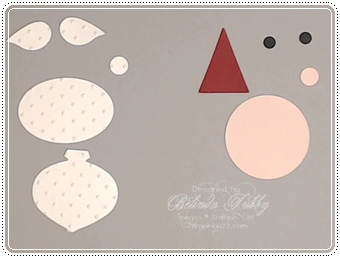
You will need to punch the pieces as shown in this photo. Emboss a Whisper White piece of card stock using the Perfect Polka dot folder and punch an ornament, a large oval, two wings from the Bird Builder punch and the circle from Itty Bitty shapes. Then punch a Cherry Cobbler pennant with the Pennant builder punch, Blush Blossom Itty Bitty circle and 1 3/4″ circle and then two 1/4″ Basic Black circles. When you are punching the wings for the mustache, punch one and then flip the card stock over and punch the debossed side. This way you will have two wings pointing different directions.
Picture 37

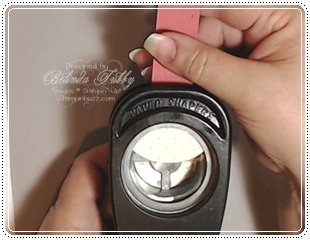
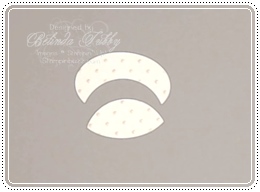
Create a handle for the Large Oval piece and use the 1 3/4″ circle punch to trim away part of the Large Oval as shown.
Picture 39

Picture 43

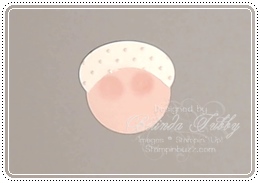
Attach the partial oval piece to the pink circle and sponge on some cheeks using a sponge dauber and Blushing Bride ink.
Picture 44

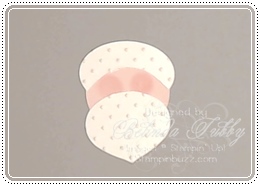
Trim off the top of the ornament  and attach as shown.
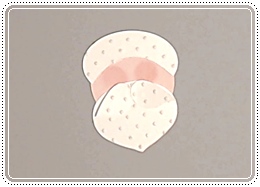
Picture 45

Add the two wings to form the mustache. I did not pop these up for this sample, but I think I will from now on, it gives it more definition. Bend the pennant piece over as shown to form the hat.
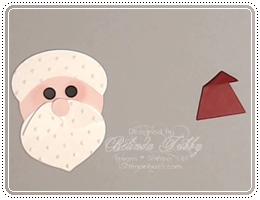
Picture 47

Add the white circle to make a pom for the hat and attach as shown.
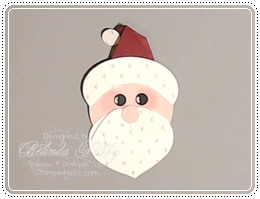
Picture 48

Finish the punch art piece by adding commas to the eyes, using a white gel pen.

Thanks for stopping by
Belinda


Frankenstein Treat Box Tutorial

Fancy Favor Frankenstein Box

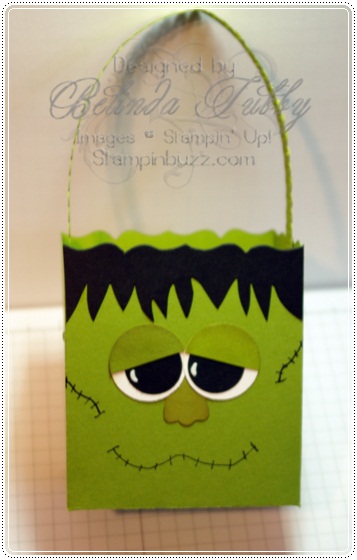
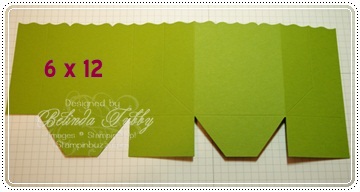
Create an adorable Frankenstein treat container using the Fancy Favor box die. Cut a 6 x 12 piece of Old Olive card stock and run it through the big shot with the Fancy Favor die. The die cuts and scores for you, so all you need to do is draw in the mouth and scars with a Basic Black marker. Do this on the front panel which would be the panel with the two gusseted sides. Use either liquid Tombow multi or Sticky strip adhesive to assemble the box.

frankenstein fancy favor box

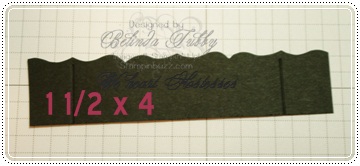
Cut a strip of Basic Black card stock that is 4 x 1 1/2 inches and place it on the die so that the top is trimmed to match the decorative edge.

Frankenstein fancy favor box

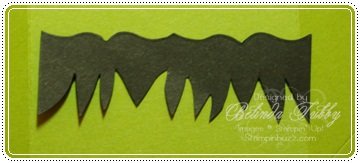
Trim the scored pieces off and hand trim the lower edge of the box so that it resembles Frankenstein’s hairline.

frankenstein fancy favor box

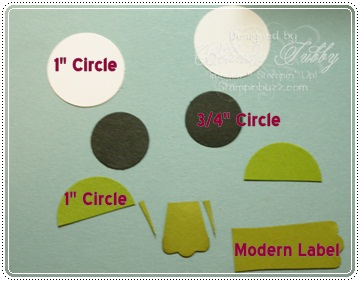
Punch the following pieces

  • Whisper White – Two 1″ circles
  • Basic Black – Two 3/4″ circles
  • Old Olive – One 1 inch circle (cut in half) and One Modern Label piece cut at about 3/4″ and trimmed along the sides as shown

frankenstein fancy favor box

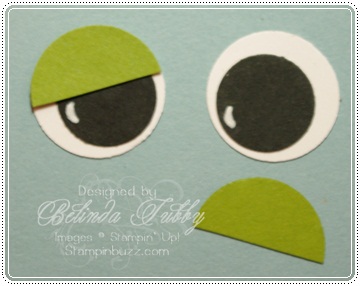
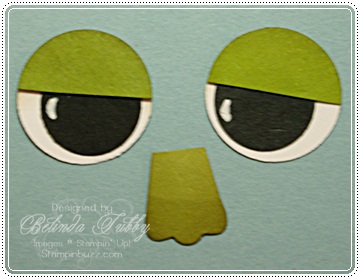
Draw a white crescent on each black circle, using the White gel pen. Glue the eyes together as shown. Sponge all of the punched pieces with crumb cake ink to make them stand out against the Old Olive box.

frankenstein fancy favor box

Cut a 1 x 11 inch piece of old olive card stock and punch with a border of your choice to create a handle. Attach the handle to the inside of the box using brads. Attach the hair, eyes and nose to the box as shown. Fill with candy or other spooky treats!

frankenstein fancy favor box

Enjoy!

Belinda


Punch art Lamb and Chick

punch art

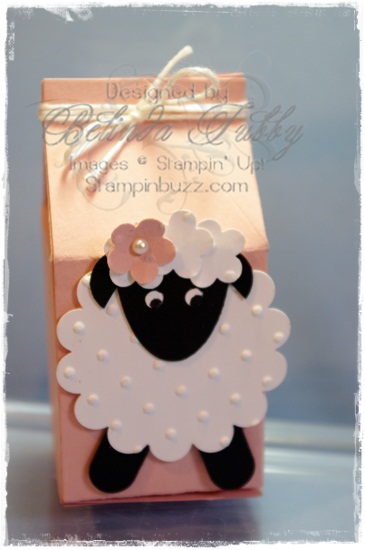
This is a cute little punch art lamb that we made for Stamp Camp a while back. I made a tutorial for it and a punch art chick. Enjoy!

Punch art lamb

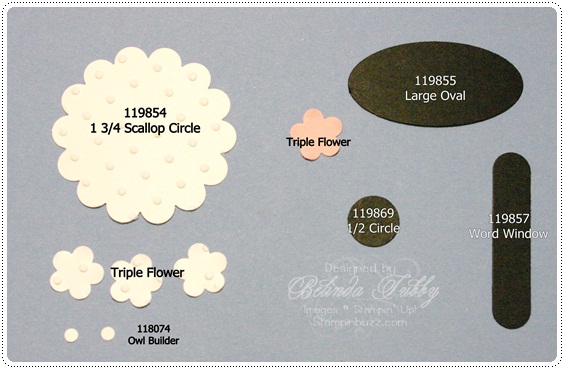
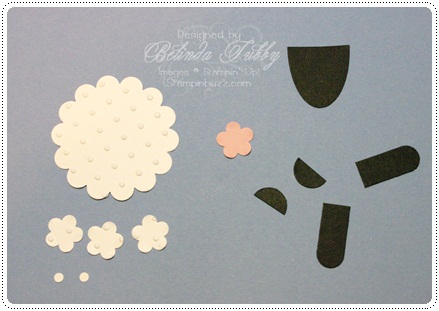
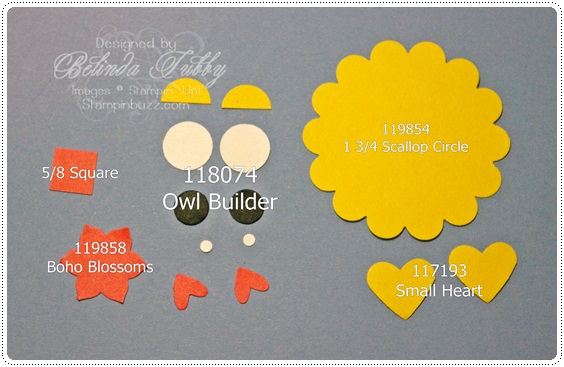
These are the punched pieces you will need for the lamb.

punch art lamb

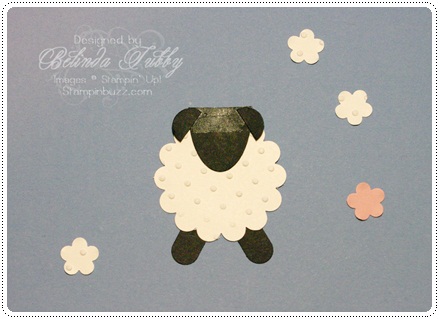
Cut the oval, circle and word window pieces in half as shown.

punch art lamb

Attach the oval half to the scallop circle as shown. Make the ears by attaching the two

half circles. Add the word window pieces to the back of the circle to make the lambs legs.

punch art lamb

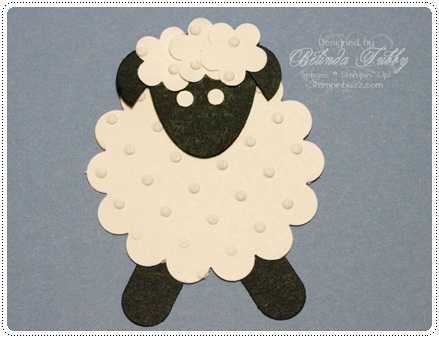
Add the 3 flowers for the wooly hair on her head and the two 1/8 inch circles for eyes.

punch art lamb

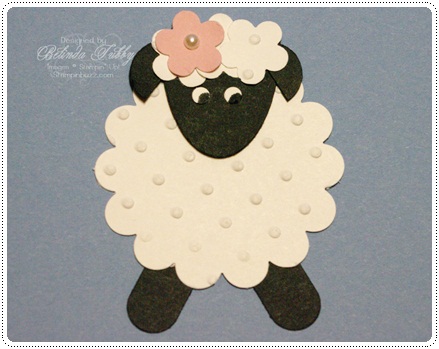
The final touches are the pink flower and pearl and pupils, drawn in with a Basic Black marker.

punch art chick

Make an adorable chick with the punched pieces shown.

punch art chick

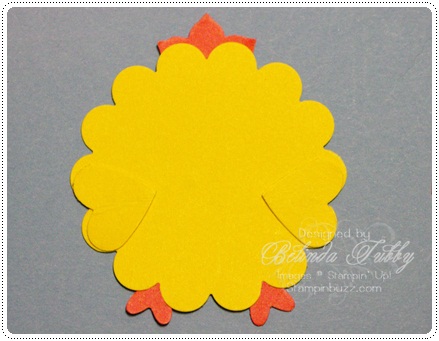
The little hearts from the owl builder punch make cute little chickie feet! Add the hearts

for wings and the blossom flower for comb. You could leave off the flower and add a bow

for a little girl chickie. 🙂

punch art chick

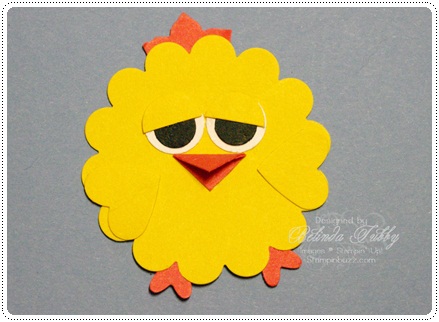
Fold the square in half to make the beak. I just cut a 5/8 card stock strip to make the

square for the beak.  Add the circles for the eyes as shown to finish. I decided not to

add the tiny white circles for the eyes but you can add them if you want your chick to

be looking a certain direction!

Happy Stampin’

Belinda


Sweet Treats

Everyone loves getting candy treats during the Christmas season. Here are three different options for packaging your sweet treats!

12 gifts of christmas

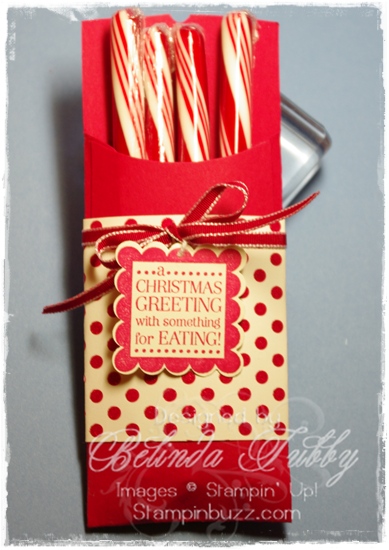
I used the Petite Pocket die to create this cute little pouch. It really doesn’t get much easier than this for a quick project, and it’s the perfect size for a variety of candies!

12 gifts of christmas

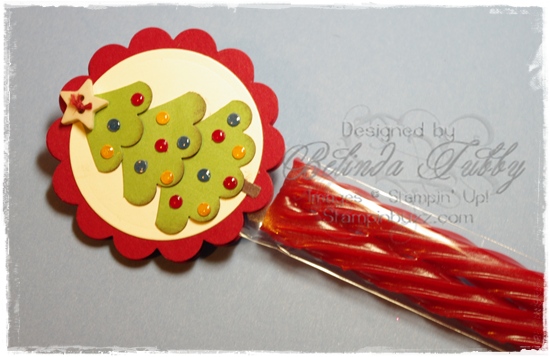
I love our 1 x 8 cello bags for candy gifts. This topper was fun to make using the smaller circle scallop punch. I just snipped apart the layers and added some tiny punched circles for ornaments. Crystal effects was used to make them shine!

Tags till Christmas

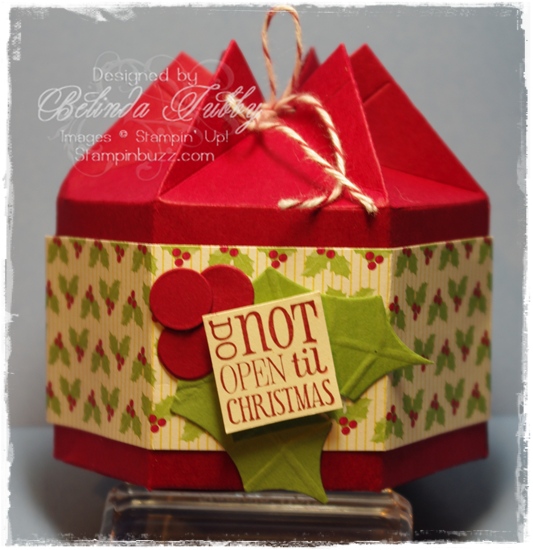
Finally, gift number 5 in this series is this fun little box which will hold quite a few candies. It is a six sided box, made using the Milk Carton die! Lots of fun!

Thanks for stopping by!

Belinda


Stocking Builder Rudolph

Stocking Builder

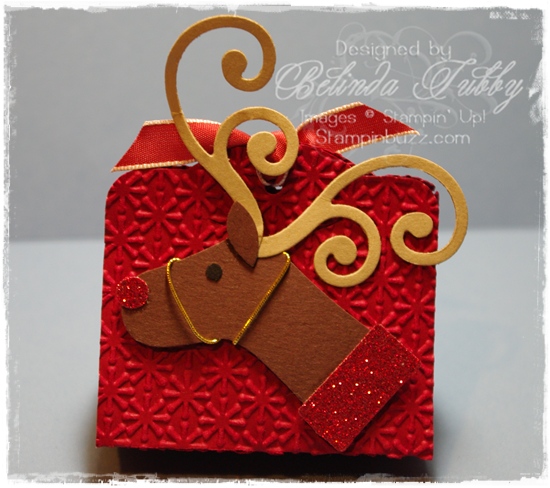
Isn’t this clever? I saw this little Rudolph on our demonstrator sharing site, made by Sharon George. So cute! It is done using the Stocking Builder punch. I added it to a candy holder made with the Two Tags die. The tags are embossed using the new Snow Burst Textured Impressions embossing folder. Fun, Fun!

Belinda


Stampin’ Stuff

Paper

Cherry Cobbler ~ Chocolate Chip ~ Crumb Cake ~ Basic Black ~ Red Glimmer paper

Fun Stuff

Big Shot ~ Stocking Builder punch ~ 1/8″ Circle Punch ~ Itty Bitty Shapes Punch ~ Two Tags die ~ Swirls Scribbles Sizzlet ~ Riding Hood Red taffeta ribbon ~ gold cord


Petal Cone Santa

petal cone santa

Isn’t this a fun little Santa ornament? I used the petal cone die  for the ornament base and then punched the pieces for his head. I just folded the flaps in on this one, but if you wanted to fill it with candy; you could add a square of card stock to the bottom to seal it better. I have seen similar Santas done using a box pattern, but the die made this quick and easy!

Belinda


Stampin’ Stuff

Paper

Basic Black ~ Whisper White ~ Real Red ~ Blush Blossom ~ Silver Glimmer paper

Fun Stuff

Big Shot ~ Petal Cone die ~ Perfect Polka Dots EF ~ Extra Large Oval punch ~ Bird Builder punch ~ Ornament punch ~ 1 3/4″ Circle Punch ~ 1/2″ Circle punch ~ 1/4″ Circle punch ~ 1/8″ Circle punch ~ 1/2″ Square punch ~ 1/4″ Square punch ~ 1/8″ Basic Black taffeta ribbon ~ Sponge Daubers


Two Tags Candy Holder

two tags halloween candy holder

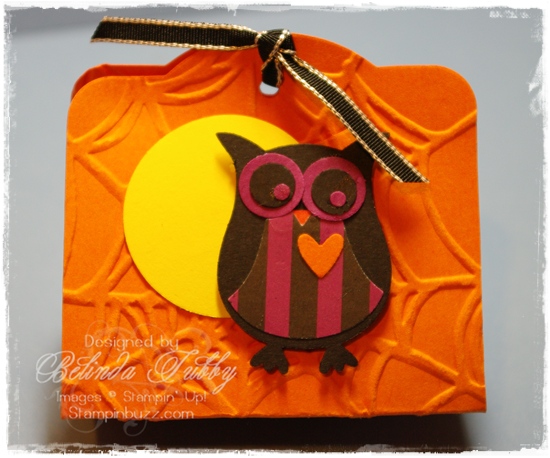
Here is a cute little Halloween treat holder. You can stack smaller candies inside, or use it as a band around a bundle of longer candy. These are quick and easy. Just cut two of the larger tags, using the Two Tags die and the Big Shot machine. Emboss the tags if you like, and then glue them together on the bottom fold. Fold the top half of the tags up to form a triangle and tie at the top. Fun stuff!

Thanks for stopping by!

Belinda


Stampin Supplies

Paper

Pumpkin Pie ~ Rich Razzleberry ~ Daffodil Delight ~ Basic Black ~ Retired DSP

Fun Stuff

Big Shot ~ Two Tags Die ~ Spider Web TEF ~ Owl Builder punch ~ 1 3/8″ Circle punch ~ 1/8″ Basic Black grosgrain ribbon


Batty Candy Cone

Batty Candy Cone

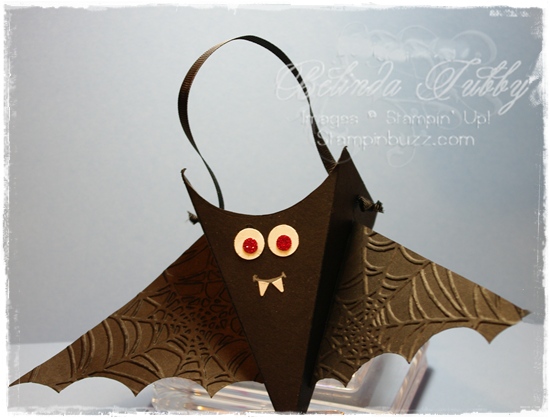
This is a cute little batty project that we made for stamp camp this month. Shelli shared it on her blog and I just had to copy it. Not much stamping, but it uses two of my favorite new dies; Perfect Pennants and the Petal Cone die. What a fun way to serve up your favorite Halloween treats!

Happy Stampin!

Belinda


Stampin Supplies

Paper

Basic Black ~ Whisper White ~ Red Glimmer paper

Fun Stuff

Big Shot ~ Petal Cone die ~ Perfect Pennants die ~ Circle framelits ~ Spider Web TIEF ~ 1 3/8″ Circle Punch ~ 1 1/4″ Circle Punch ~ 1/2″ Circle punch ~ 1/4″ Circle punch ~ 1/8″ Circle punch ~ Star punch ~ Basic Rhinestones ~ Basic Black grosgrain ribbon ~ White colored pencil