Be Merry Gift Box

punchboardbox8

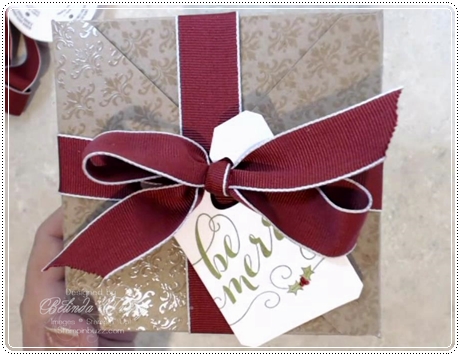
Today I have tutorial to share. This is a gift box made from a 12 x 12 piece of card stock. I used our Natural Composition specialty DSP because it is a thicker card stock and it has beautifully embossed images on it, so your box is already decorated. After a little scoring and punching with the Envelope punch board, you make 4 simple cuts and then fold your box and tie it up. Add a quick tag for a beautiful gift presentation. The finished box is 5 1/2″ square and 2 3/4″ deep. Enjoy the tutorial!

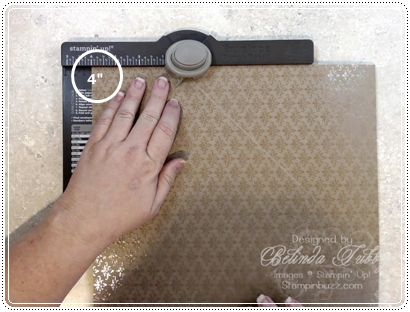
Begin with a 12 x 12 piece of card stock or dsp. Line each side of the cs at 4 inches, punch and then score as far as you can on the board.
Punchboard Box

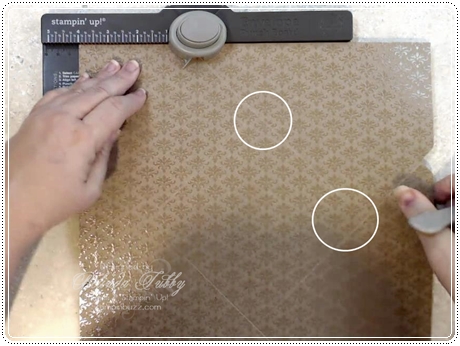
It won’t score all the way across. Just score as far as you can, because the next step will finish the score line for you. In the picture below you can see where the lines don’t quite meet.
punchboardbox2

Flip the card stock over and do the same thing from the back. Line the edge at 4 inches and score down till your lines intersect with the score lines from the other side. These lines will form the box bottom. The lines that extend beyond the box bottom to the edges of the card stock, will form your box sides.
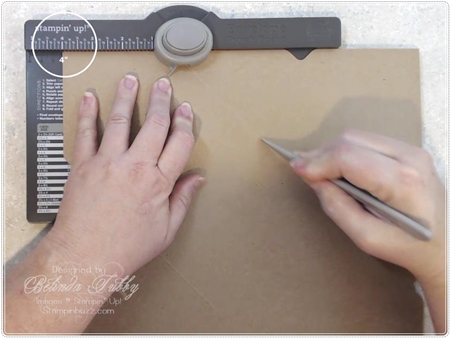
punchboardbox3
Line the bottom edge of the v punch with the scoring groove on the punch board as shown below and score again to create your box side and flap. You are still scoring from the back.
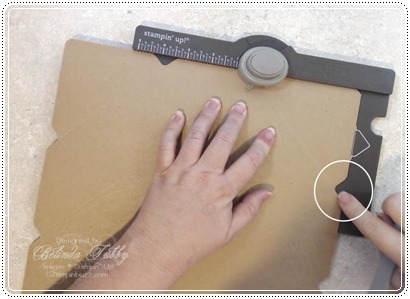
punchboardbox4

Cut in from each side as shown to create your flap, which will allow the box to fold in. Be sure to only cut up to the score line.
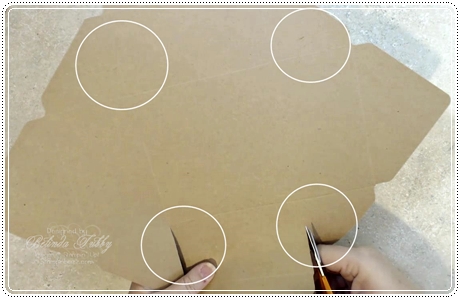
punchboardbox5

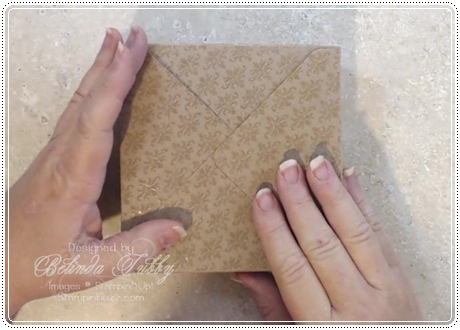
When you are finished cutting, opposite sides of the box should have 2 side flaps, which will fold in to secure the sides of the box. The opposing sides will not have side flaps, only a flap which will help to form the box top. Add adhesive to each of the flaps and fold in to form the box.
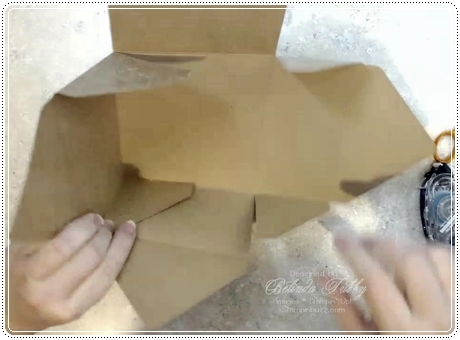
punchboardbox6

Fold the top flaps in to close the box. You can secure with adhesive if you like. I add a punched circle under the bottom two flaps to make the box a little sturdier. Finish it off with a bow and tag!
punchboardbox7

Thanks for stopping by today!

Belinda


Stampin’ Stuff

Stamps

Be Merry

Ink

Old Olive ~ Red Sharpie marker

Paper

Whisper White ~ Natural Composition DSP

Fun Stuff

Big Shot ~ Chalk Talk framelits ~ Basic Pearls ~ Cherry Cobbler 1″ grosgrain ribbon


Frankenstein Treat Box Tutorial

Fancy Favor Frankenstein Box

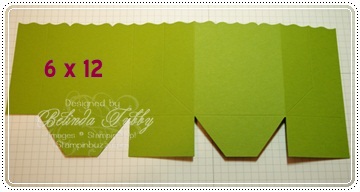
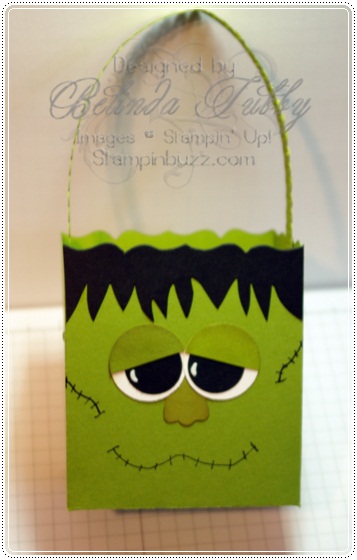
Create an adorable Frankenstein treat container using the Fancy Favor box die. Cut a 6 x 12 piece of Old Olive card stock and run it through the big shot with the Fancy Favor die. The die cuts and scores for you, so all you need to do is draw in the mouth and scars with a Basic Black marker. Do this on the front panel which would be the panel with the two gusseted sides. Use either liquid Tombow multi or Sticky strip adhesive to assemble the box.

frankenstein fancy favor box

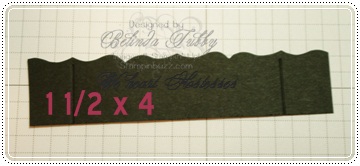
Cut a strip of Basic Black card stock that is 4 x 1 1/2 inches and place it on the die so that the top is trimmed to match the decorative edge.

Frankenstein fancy favor box

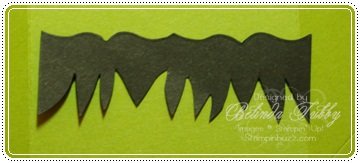
Trim the scored pieces off and hand trim the lower edge of the box so that it resembles Frankenstein’s hairline.

frankenstein fancy favor box

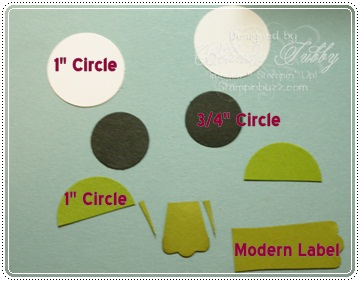
Punch the following pieces

  • Whisper White – Two 1″ circles
  • Basic Black – Two 3/4″ circles
  • Old Olive – One 1 inch circle (cut in half) and One Modern Label piece cut at about 3/4″ and trimmed along the sides as shown

frankenstein fancy favor box

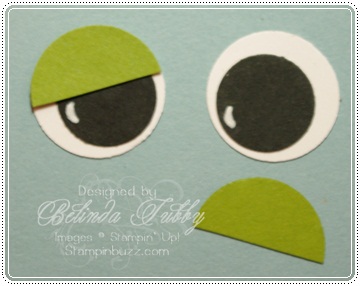
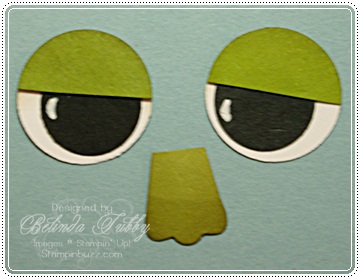
Draw a white crescent on each black circle, using the White gel pen. Glue the eyes together as shown. Sponge all of the punched pieces with crumb cake ink to make them stand out against the Old Olive box.

frankenstein fancy favor box

Cut a 1 x 11 inch piece of old olive card stock and punch with a border of your choice to create a handle. Attach the handle to the inside of the box using brads. Attach the hair, eyes and nose to the box as shown. Fill with candy or other spooky treats!

frankenstein fancy favor box

Enjoy!

Belinda


Punch art Lamb and Chick

punch art

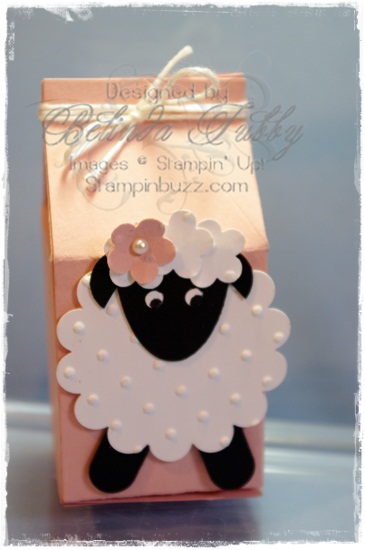
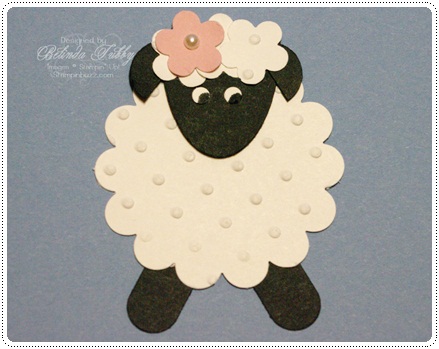
This is a cute little punch art lamb that we made for Stamp Camp a while back. I made a tutorial for it and a punch art chick. Enjoy!

Punch art lamb

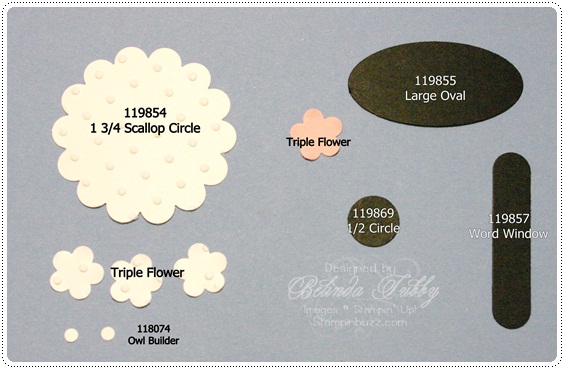
These are the punched pieces you will need for the lamb.

punch art lamb

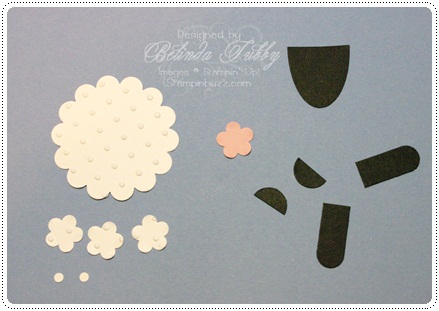
Cut the oval, circle and word window pieces in half as shown.

punch art lamb

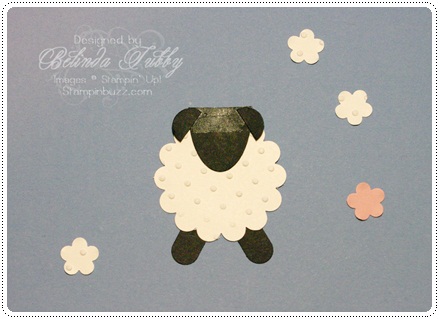
Attach the oval half to the scallop circle as shown. Make the ears by attaching the two

half circles. Add the word window pieces to the back of the circle to make the lambs legs.

punch art lamb

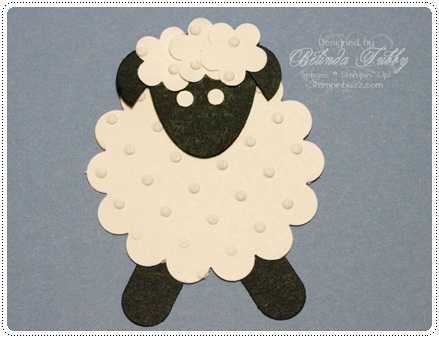
Add the 3 flowers for the wooly hair on her head and the two 1/8 inch circles for eyes.

punch art lamb

The final touches are the pink flower and pearl and pupils, drawn in with a Basic Black marker.

punch art chick

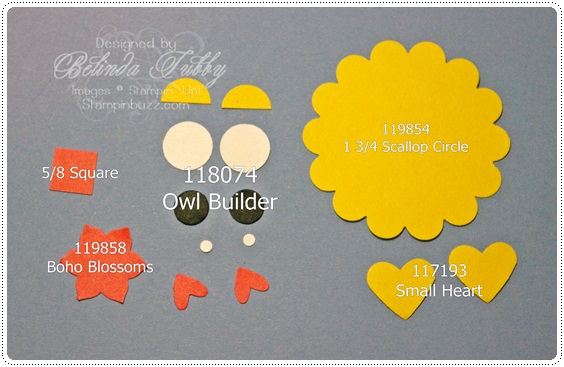
Make an adorable chick with the punched pieces shown.

punch art chick

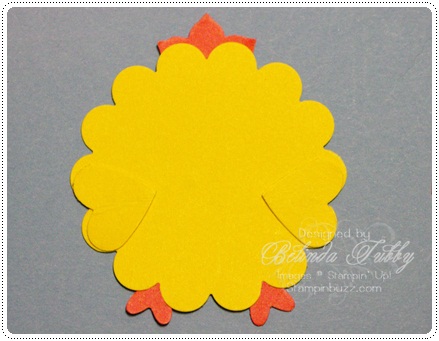
The little hearts from the owl builder punch make cute little chickie feet! Add the hearts

for wings and the blossom flower for comb. You could leave off the flower and add a bow

for a little girl chickie. 🙂

punch art chick

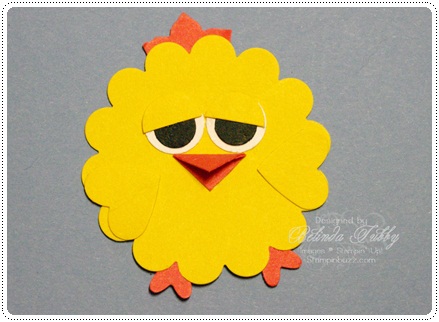
Fold the square in half to make the beak. I just cut a 5/8 card stock strip to make the

square for the beak.  Add the circles for the eyes as shown to finish. I decided not to

add the tiny white circles for the eyes but you can add them if you want your chick to

be looking a certain direction!

Happy Stampin’

Belinda


Flight of the Butterfly

I have had a lot of searches for a couple of pop up cards that I featured in a kit at StampFest a couple of years ago. I decided to add the tutorials for those cards since there was so much interest in them. I have written quite a few tutorials over the last couple of years and will be adding some of those to my tutorials page over the next couple of months. If you like tutorials, you may want to keep an eye on that page.

pop up card

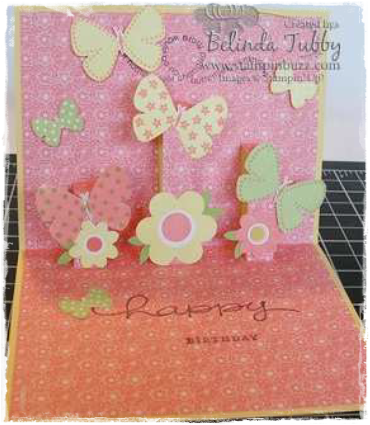
This is the pop up card that I made, using the Flight of the Butterfly set. You can find the tutorial here. I’ll go ahead and add the stamping supplies on this post as well. I hope this is helpful for those searching for pop up instructions.

pop up card

Thanks for stopping by!

Belinda


Stampin Supplies

Stamps

Flight of the Butterfly ~ Enjoy Every Moment ~ Happy Everything

Ink

Chocolate Chip ~ So Saffron ~ Cameo Coral ~ Certainly Celery

Paper

So Saffron ~ Whisper White ~ Cameo Coral ~ Certainly Celery ~ Retired DSP

Fun Stuff

Bigz XL Top Note Die ~ Little Leaves Sizzlet ~ Big Shot ~ Corner Punch ~ ¼ Circle Punch ~
Five Petal Flower punch ~ Backgrounds 1 Texturz Plate ~ Butterfly Punch


Candy Bar Wrapper Video!

Halloween candy bar wrapper

Oh My! I have managed to create my first video, but I had no idea just how involved it would be. The whole process has been very time consuming for me, because I started from scratch! I had to learn how to use the camera and figure out how to mount it upside down over my desk, figure out lighting, learn editing software, you tube, and then how to embed it into my blog! So if you have been wondering where I have been, between this adventure, a few big family events and a stomach bug …… There were days that I was wondering the same thing myself! It’s good to be back!

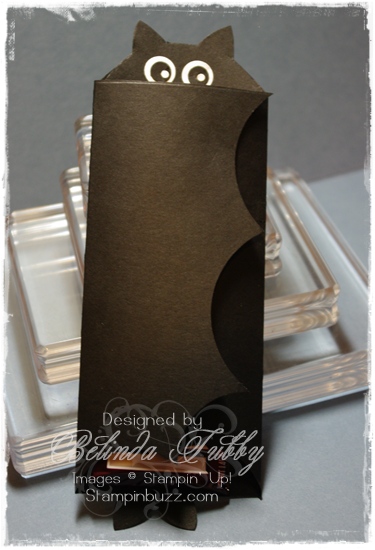
Isn’t this little bat cute? I saw one that used a pattern  that was printed off and then cut out. I wasn’t sure how the ink would show up on black paper, but I also knew it would be easy to do using punches! So here is the final result of several adventures over the last couple of weeks.

My first video presentation for my blog.  I should explain that I hate most of it! Every frame is a lesson in what NOT to do next time, but it took so long to get to this point, there was no way that I was going to start over! The project is cute and fun though, and the video explains it well enough. I will be adding more videos and hopefully they will get better as I go along. I hope you enjoy it!

Thanks for stopping by!

Belinda


Stampin Supplies

Paper

Basic Black ~ Whisper White

Fun Stuff

Simply Scored Scoring tool ~ 2 1/2″ Circle Punch ~ 1 3/4″ Circle Punch ~ Owl Builder punch ~ 5 Petal Punch


Jolly Old St. Nick

This card uses so many of my favorite new toys from the Holiday Mini Catalog that I don’t know where to start!  First, the new Textured Impressions Embossing Folder called Northern Flurries. It coordinates with the Northern Hearts hostess set. Love it! I’ll explain in a minute how I colored the snowflakes and snow man, but first let’s talk about that adorable little snow guy! This is another favorite thing(s) from the upcoming mini (should be arriving in your mailbox in 2-3 weeks). The cute snowman comes from an adorable retro Christmas set called Jolly Old St Nick. These images all remind me of Christmases past.

I also love this sentiment set called Bright Christmas, it has 3 holiday sentiments using gorgeous, festive fonts. The clear mount set is only $10.95, a really inexpensive way to update a set you may already own.
Finally, the glittery snowflakes are a new decorative strip die for the Big Shot called Northern Frost. This die has 8 different snowflakes in varying sizes. I used the two smallest flakes for this card. The die also coordinates with the Northern Hearts set, as well as the Northern Flurries folder.

I loved the little tag made with this set from the Holiday mini, it is what inspired this card.The snowflakes and snowman appear to have been colored a lighter color than the card stock when it is actually the opposite. The rest of the card stock has color added to it to make the images pop. The snow man is simply stamped in Early Expresso Ink on Crumb Cake card stock. The scarf, hat and gloves were colored with Crumb Cake ink and cut out. I used the Tea stain distress ink from the new distressing kit to age the card stock behind the popped up image.

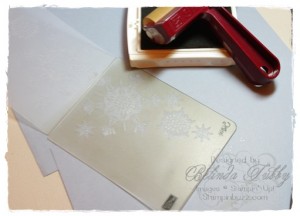
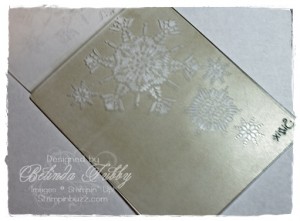
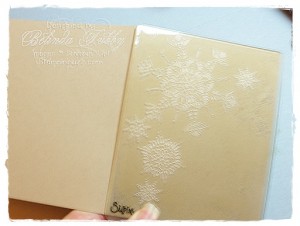
I used a brayer to ink up the relief side of the embossing folder with Crumb Cake ink to make the lighter colored snow flakes as shown.

The relief side is the side that has the snow flakes that are not elevated, so that when you apply ink it would cover all of the portion of the folder that would not emboss the card stock

Use a fairly heavy layer of ink

Place the card stock in the folder as you normally would to emboss.

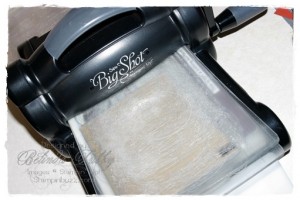
Run it through the Big Shot

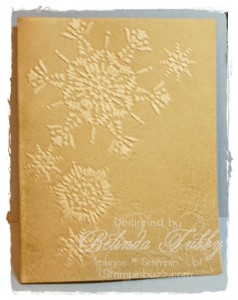
The Ink will cover the card stock where there is no embossing, just like a relief stamp.

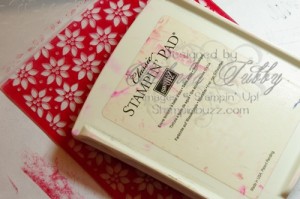
If you don’t have  a brayer, you can apply the ink directly from the ink pad, as shown

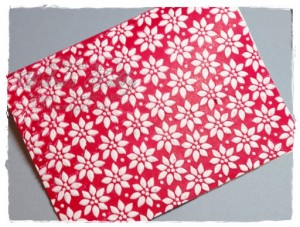
For this piece I used Real Red classic Ink on Whisper White card stock with the Petals a Plenty folder

Oh, and I forgot to mention, we will be stamping this card at Stamp Camp this week.

Hope to see you there!

Belinda


Stampin’ Stuff

Stamps

Jolly Old St Nick ~ Bright Christmas

Ink

Crumb Cake ~ Early Espresso ~ Tea Stain distressing ink

Paper

Crumb Cake

Fun Stuff

Big Shot ~ Northern Flurries TIEF ~ Northern Frost decorative strip ~ Dazzling Diamonds glitter


Hand made flowers

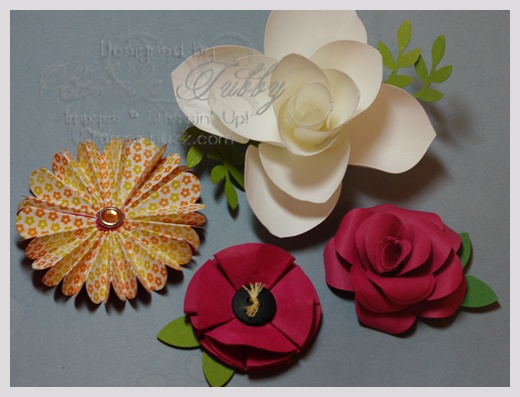
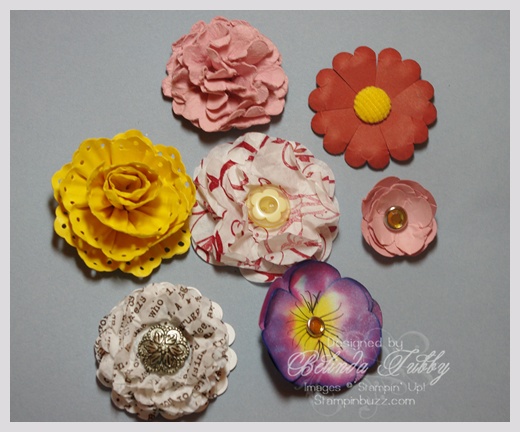
Another kit for StampFest. Learn to make hand made flowers from paper. You will be learning 10 flower techniques plus a couple of variations.
The fee for this class is $15.00.

Belinda


Our New Border and Corner Punches

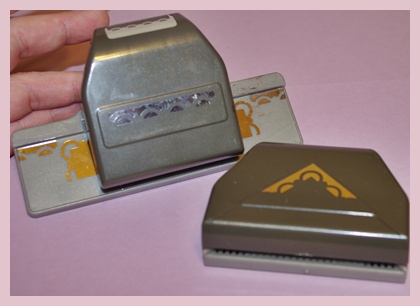
These are the new border and corner punches. The Scallop Trim border punch is one of the FREE Sale-A-Bration items that you can choose (until March 31st) when you purchase $5o in Stampin’ Up! products. It has been wildly popular along with the coordinating Scallop Trim corner punch, so I thought I would prepare a tutorial on how to use them.

To get a perfectly punched border all around the card stock you do need to begin with specifically sized pieces of card stock.

The sizes that work  best for cards are……
4 3/4″
4 1/4″
3 13/16″
3 1/4″
2 7/8″
2 3/8″
1 15/16″ (this square uses only the corner punch and layers perfectly with our two largest square punches)

Want a rectangle mat? Just use one of these dimensions for two of your sides and choose another dimension for the other two sides for lovely  rectangle mats. Many thanks to Gretchen Barron for doing the math on this!

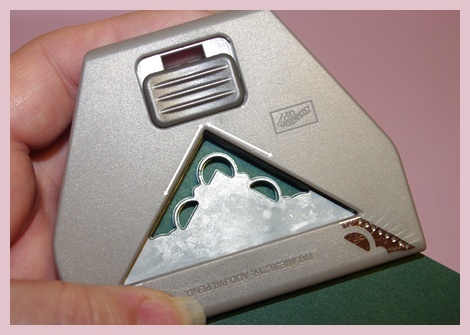
Begin by punching the corners of the mat. Flip your punch over and insert the paper from the back. You will place your card stock squarely in the corner of the viewable area of the punch. I have added arrows to this photo to indicate that you will bring the card stock right up to the corner, the paper will not slide back further under the punch.

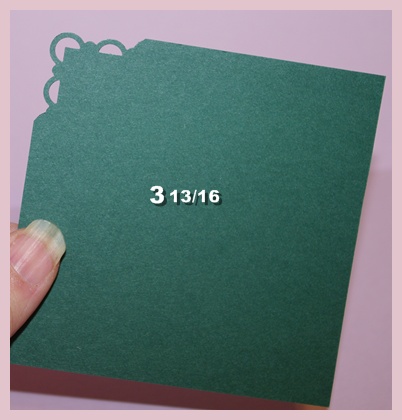
This card stock was cut to 3 13/16 square. Continue until you have punched all 4 corners

Your card stock will now look like this.

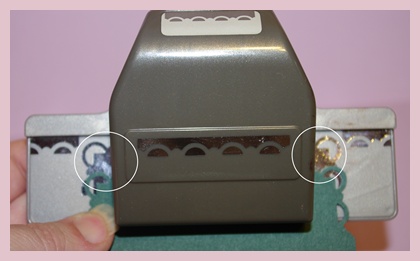
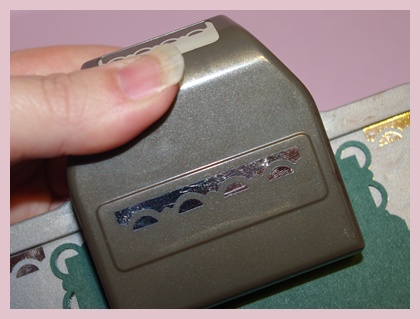
Line your corners up over the corner markings printed on the border punch as indicated by the white circles. This is the only size where the corners will line up exactly. For other sizes you will start on one side or the other and punch across.

You will line your corners up and only punch once on this size card stock.

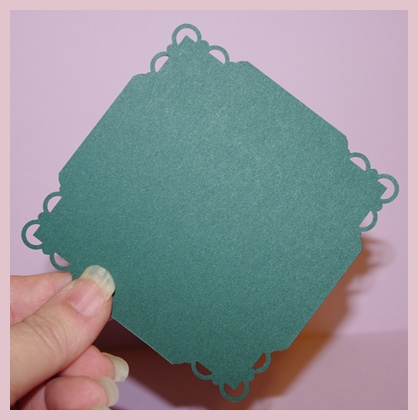
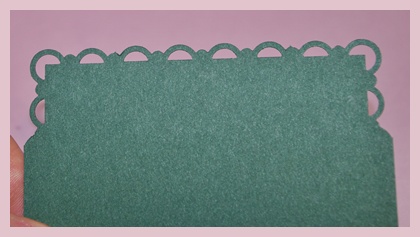
After you punch, your card stock should look like this.

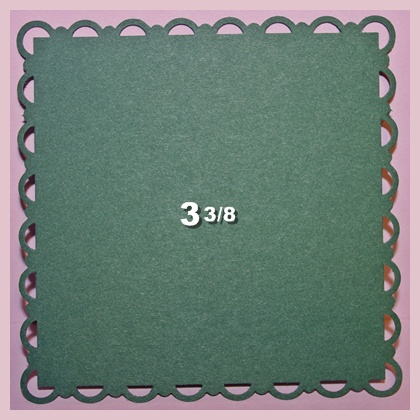
When you have punched all 4 sides you should have  a lovely scalloped mat. The inside square of this card will measure 3 3/8 inches. So you would want to cut your next layer at 1/8″ or 1/4″ smaller.

Belinda