Christmas House Gift Set

Before I give you the details on today’s project, I wanted to tell you that Stampin Up! has packed the Clearance Rack with some amazing deals. Old style punches (and some new) at 40% off and other products  up to 80% off! Go check it out!

12 gifts of Christmas

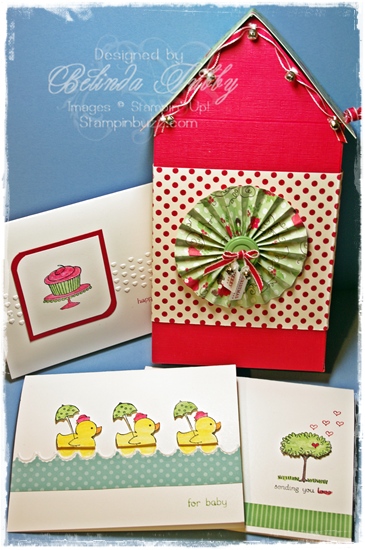
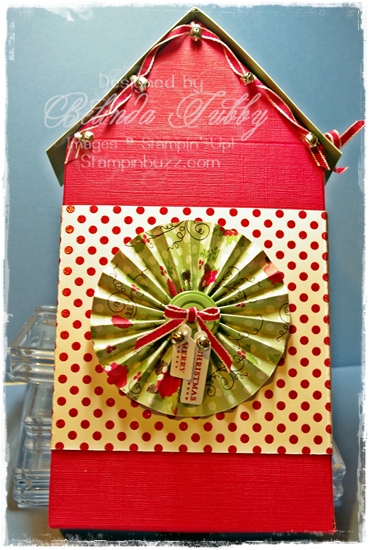
This is the first project in my 12 gifts of Christmas series. This first gift is a set of all occasion cards, packaged in a Christmas house box! The cards are quick and easy designs and the the box is made by scoring a few lines with the Simply Scored Scoring tool and decorating.

If you look closely, you can see a few sneak peek items from the upcoming Occasions Mini Catalog. We have some wonderful new goodies in this one! The embossed hearts come from a new set of embossing folders which includes 3 smaller folders. I cut down embossing folders to get this effect in the past, so I was thrilled to see these in the new mini catalog. The embossed edge on the wave of the baby card is also part of this set. I used the scallop upside down for this card. The blue DSP is cut using a new product called Edgelits! These are dies that cut a decorative edge and they coordinate with the Adorning Accents embossing folders. LOVE!

12 Gifts of Christmas

Belinda


Stampin’ Stuff

Stamps

Easy Events ~ Teeny Tiny Wishes

Ink

Real Red ~ Wild Wasabi ~ Chocolate Chip ~ Daffodil Delight ~ Black StazOn

Paper

Real Red textured 12 x 12 Card Stock ~ Whisper White ~ Wild Wasabi ~ Holly Berry Bouquet Specialty paper ~ Subtles DSP stack

Fun Stuff

Big Shot ~ Adorning Accents TIEF ~ Adorning Accents Edgelits ~ Corner Rounder Punch ~ Jewelry Tag Punch, 1/8″ hole punch ~ Simply Scored Scoring tool ~ Holly Berry Bouquet Designer Buttons ~ Mini Jingle Bells ~ 1/8″ Real Red taffeta ribbon ~ White bakers twine


Stocking Builder Rudolph

Stocking Builder

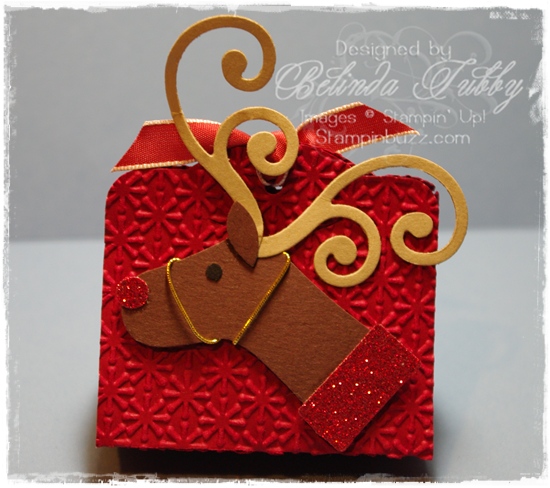
Isn’t this clever? I saw this little Rudolph on our demonstrator sharing site, made by Sharon George. So cute! It is done using the Stocking Builder punch. I added it to a candy holder made with the Two Tags die. The tags are embossed using the new Snow Burst Textured Impressions embossing folder. Fun, Fun!

Belinda


Stampin’ Stuff

Paper

Cherry Cobbler ~ Chocolate Chip ~ Crumb Cake ~ Basic Black ~ Red Glimmer paper

Fun Stuff

Big Shot ~ Stocking Builder punch ~ 1/8″ Circle Punch ~ Itty Bitty Shapes Punch ~ Two Tags die ~ Swirls Scribbles Sizzlet ~ Riding Hood Red taffeta ribbon ~ gold cord


Petal Cone Santa

petal cone santa

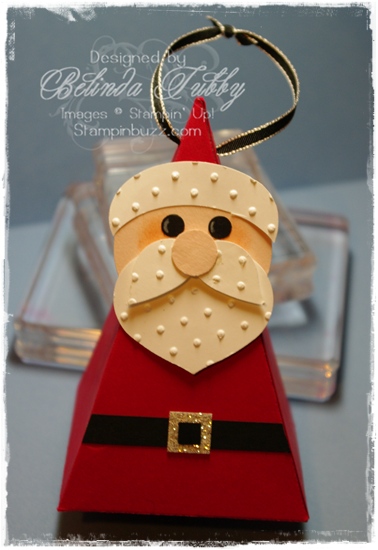
Isn’t this a fun little Santa ornament? I used the petal cone die  for the ornament base and then punched the pieces for his head. I just folded the flaps in on this one, but if you wanted to fill it with candy; you could add a square of card stock to the bottom to seal it better. I have seen similar Santas done using a box pattern, but the die made this quick and easy!

Belinda


Stampin’ Stuff

Paper

Basic Black ~ Whisper White ~ Real Red ~ Blush Blossom ~ Silver Glimmer paper

Fun Stuff

Big Shot ~ Petal Cone die ~ Perfect Polka Dots EF ~ Extra Large Oval punch ~ Bird Builder punch ~ Ornament punch ~ 1 3/4″ Circle Punch ~ 1/2″ Circle punch ~ 1/4″ Circle punch ~ 1/8″ Circle punch ~ 1/2″ Square punch ~ 1/4″ Square punch ~ 1/8″ Basic Black taffeta ribbon ~ Sponge Daubers


Batty For You

Batty for you

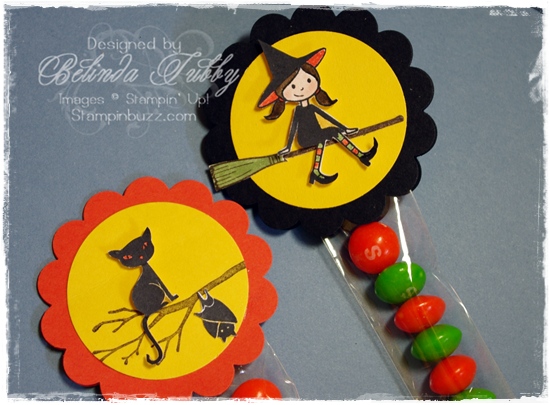
Happy Halloween! The weather has just been gorgeous the last few days. Perfect for the pumpkin patch and trick or treating or just about anything else you would want to do on a lovely fall day. My favorite time of year! Be sure to check back tomorrow for details on my Mystery Hostess event and other fun fall happenings!

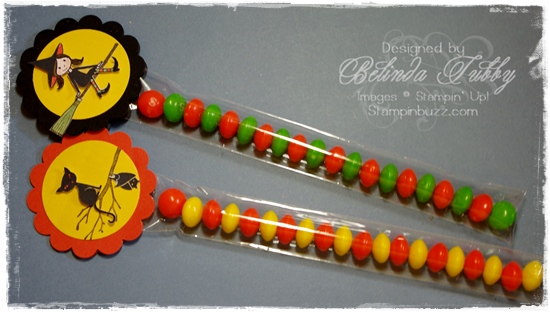
Here is one more quick and cute, treat bag topper using the Batty For You set. Just stamp and punch. This set always gets a workout this time of year. So many treats, so little time!

Thanks for stopping by!

Belinda


Stampin Supplies

Stamps

Batty for You

Ink

Tangerine Tango

Paper

Tangerine Tango ~ Basic Black ~ Whisper White

Fun Stuff

1 1/4″ Circle Punch ~ 1 3/8″ Circle Punch ~ 1 3/4″ Scallop Circle Punch ~ 1×8 Cello bags


Two Tags Candy Holder

two tags halloween candy holder

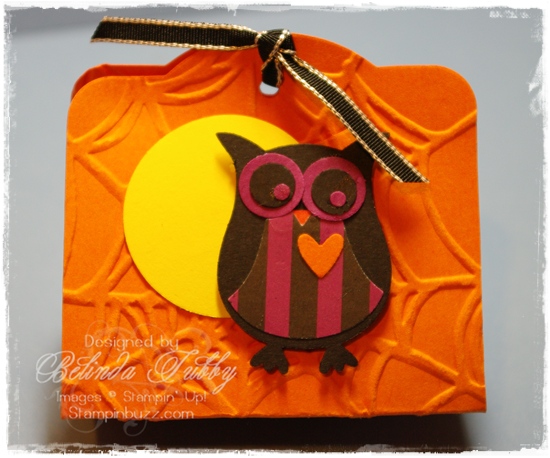
Here is a cute little Halloween treat holder. You can stack smaller candies inside, or use it as a band around a bundle of longer candy. These are quick and easy. Just cut two of the larger tags, using the Two Tags die and the Big Shot machine. Emboss the tags if you like, and then glue them together on the bottom fold. Fold the top half of the tags up to form a triangle and tie at the top. Fun stuff!

Thanks for stopping by!

Belinda


Stampin Supplies

Paper

Pumpkin Pie ~ Rich Razzleberry ~ Daffodil Delight ~ Basic Black ~ Retired DSP

Fun Stuff

Big Shot ~ Two Tags Die ~ Spider Web TEF ~ Owl Builder punch ~ 1 3/8″ Circle punch ~ 1/8″ Basic Black grosgrain ribbon


Batty Candy Cone

Batty Candy Cone

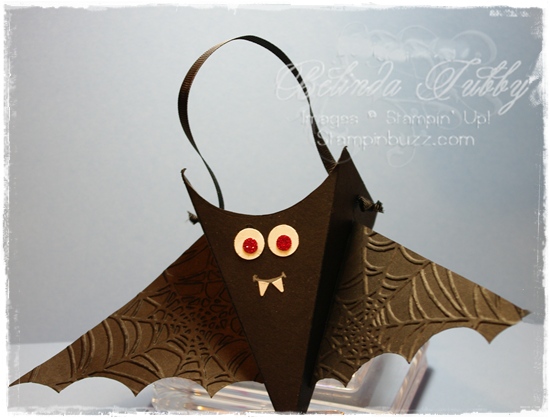
This is a cute little batty project that we made for stamp camp this month. Shelli shared it on her blog and I just had to copy it. Not much stamping, but it uses two of my favorite new dies; Perfect Pennants and the Petal Cone die. What a fun way to serve up your favorite Halloween treats!

Happy Stampin!

Belinda


Stampin Supplies

Paper

Basic Black ~ Whisper White ~ Red Glimmer paper

Fun Stuff

Big Shot ~ Petal Cone die ~ Perfect Pennants die ~ Circle framelits ~ Spider Web TIEF ~ 1 3/8″ Circle Punch ~ 1 1/4″ Circle Punch ~ 1/2″ Circle punch ~ 1/4″ Circle punch ~ 1/8″ Circle punch ~ Star punch ~ Basic Rhinestones ~ Basic Black grosgrain ribbon ~ White colored pencil


Candy Bar Wrapper Video!

Halloween candy bar wrapper

Oh My! I have managed to create my first video, but I had no idea just how involved it would be. The whole process has been very time consuming for me, because I started from scratch! I had to learn how to use the camera and figure out how to mount it upside down over my desk, figure out lighting, learn editing software, you tube, and then how to embed it into my blog! So if you have been wondering where I have been, between this adventure, a few big family events and a stomach bug …… There were days that I was wondering the same thing myself! It’s good to be back!

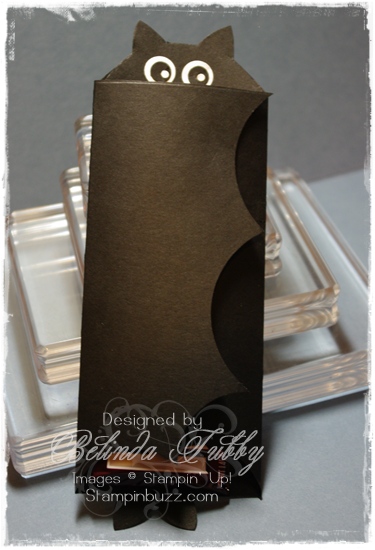
Isn’t this little bat cute? I saw one that used a pattern  that was printed off and then cut out. I wasn’t sure how the ink would show up on black paper, but I also knew it would be easy to do using punches! So here is the final result of several adventures over the last couple of weeks.

My first video presentation for my blog.  I should explain that I hate most of it! Every frame is a lesson in what NOT to do next time, but it took so long to get to this point, there was no way that I was going to start over! The project is cute and fun though, and the video explains it well enough. I will be adding more videos and hopefully they will get better as I go along. I hope you enjoy it!

Thanks for stopping by!

Belinda


Stampin Supplies

Paper

Basic Black ~ Whisper White

Fun Stuff

Simply Scored Scoring tool ~ 2 1/2″ Circle Punch ~ 1 3/4″ Circle Punch ~ Owl Builder punch ~ 5 Petal Punch


Out on a Limb

out on a limb

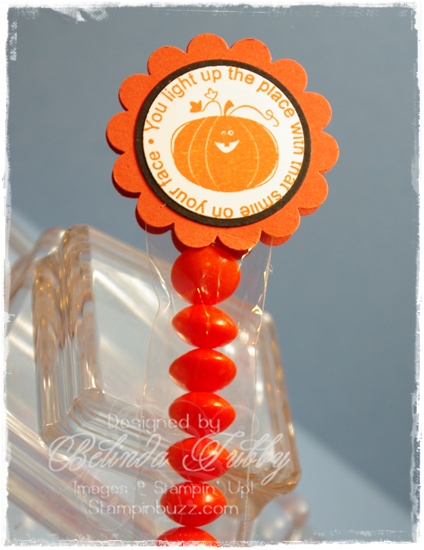
I made these fun little cello toppers for our new 1×8 cello bags from the Holiday mini catalog.  I am going to make more of these for the holidays. They are easy and adorable and I know they will appeal to the kiddos, because I have had to rescue them from Aubrey several times. Before I got to take pictures. I tried to offer her some treats in one of the little bags, but she insisted on having one with the topper!

You could make them a little simpler, by just stamping on a white card stock and skip all the cutting. I am thinking we’ll make these for stamp camp next week.

Out on a limb

Thanks for stopping by!

Belinda


Stampin Supplies

Stamps

 Out on a Limb

Ink

Tangerine Tango ~ Daffodil Delight ~Early Espresso ~ Basic Black

Paper

Daffodil Delight ~ Basic Black ~ Whisper White

Fun Stuff

2 3/8″ Scallop Circle Punch ~ 1 3/4″ Circle Punch ~ 1×8 Cello bags ~ Skittles Candies