Welcome to my new website and blog! I am so excited to finally be posting.
The purpose in creating this site was to have a place for you, my wonderful stamping friends to be able to find the wealth of stamping techniques and samples that we have explored over the last 10 years! (I know, I can’t believe it has been that long!) I spend a lot of time surfing the web for ideas and then when I do find something I like, I can never find it again. So, I wanted a site that was easy to navigate and one which makes it easy to find what you are looking for. I hope you enjoy it. Please be patient with me as I upload content. I am going to try to update a lot of the stuff I have, but you will also find some old favorites here.
I really had not intended to become a blogger, but I found that this format was the best for what I wanted to do. So, don’t expect posts every day or even every week! When there is something new and exciting at Stampin’ Up! I will post it on my blog and I will post projects here from time to time as well. Some days I will just be posting to the gallery or the tutorial page, and some days I will just be tending to my family, home and customers. My goal here is to collect a wealth of resources for my wonderful customers. I hope you find it useful. Please feel free to remind me of projects or techniques that you would like to see added.
I want to give many, many thanks to Jen Clendineng for building my site for me and for her patience! I told her what I wanted, and then changed my mind about a hundred times and she built exactly what had been rolling around in my head. How she made any sense of it, I’ll never know! Thanks so much Jen! Thanks also to Melissa Kulesa for creating my adorable banners.
And now to my first tutorial!
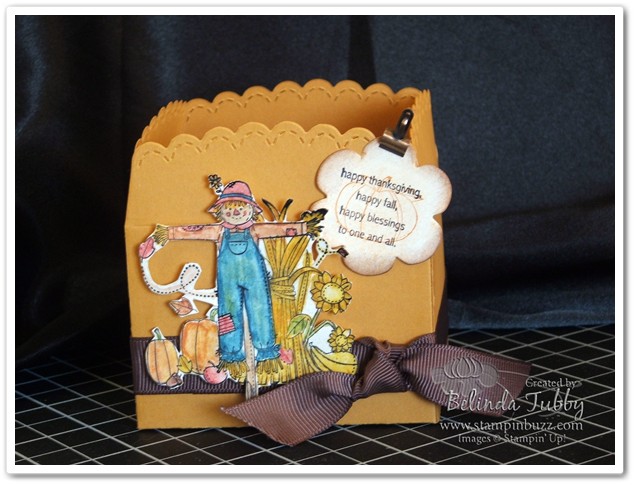
I love my new Big Shot (the new die cut machine and dies from Stampin’ Up!)! I saw a box made from the Scallop Envelope Bigz Die. I don’t know how the original was done, but this is what I came up with.
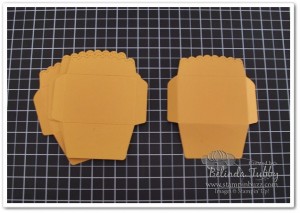
Cut 4 envelopes using the Scallop Envelope Bigz Die.
I have had good luck with cutting through 4-5 pieces of card stock at a time, but for good scored edges I just cut 2 at a time.
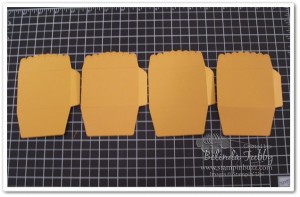
Cut one of the side flaps off of each die cut. Be sure to remove the same side each time.
Add sticky tape right next to the scored edge of the flap for a good looking edge.
I like to use permanent adhesive for three dimensional projects like this. Our tombow multi would also work well.
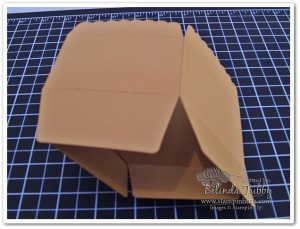
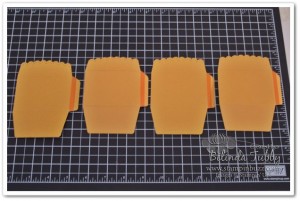
Attach each envelope to the next, in the order shown above.
Use a bone folder to get a really good bond.
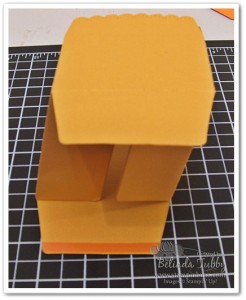
For the bottom, fold in two of the flaps and then add sticky strip to the the bottom two as shown and fold in.
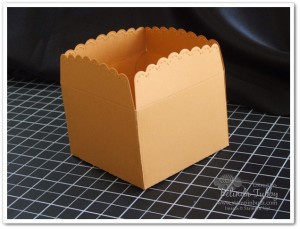
You will create an open ended box that has a really cute scalloped edge. I love it!
Happy Stampin’!
Belinda
