Greeting Card Kids Valentine

Greeting Card Kids

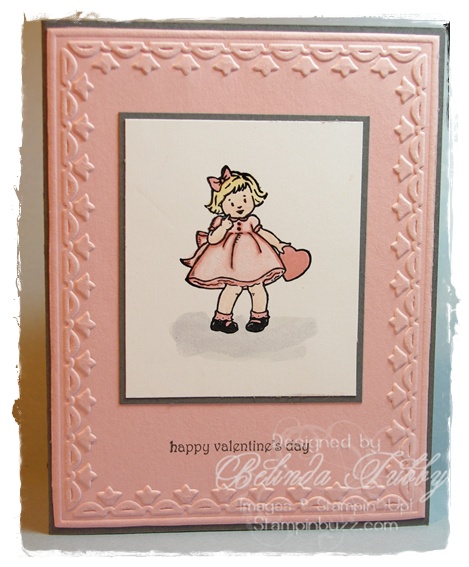
I had to use my sweet little Greeting Card Cutie again for this valentines card. How neat is this embossed border? I love it. This is the new Framed Tulips Textured Impressions folder from the Occasions Mini Catalog. Super Easy card. Of course when you have the right tools, the design process is quick and painless!

Belinda


Stampin’ Stuff

Stamps

Greeting Card Kids ~ Teeny Tiny Wishes

Ink

Black StazOn ~ Basic Gray ~ So Saffron ~ Blushing Bride

Paper

Basic Gray ~ Blushing Bride ~ Whisper White

Fun Stuff

Big Shot ~ Framed Tulips EF ~ Aqua Painter


Manhattan Flower Wedding Invitation

Manhattan flower impressions folder

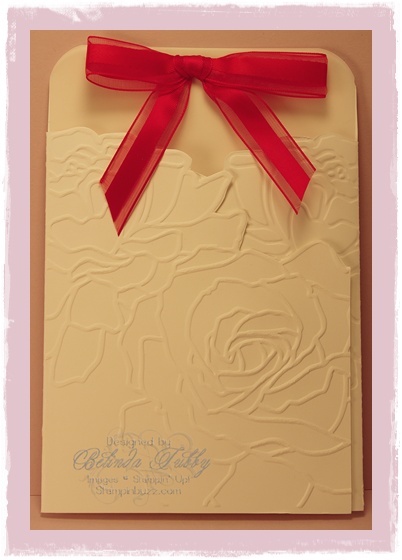
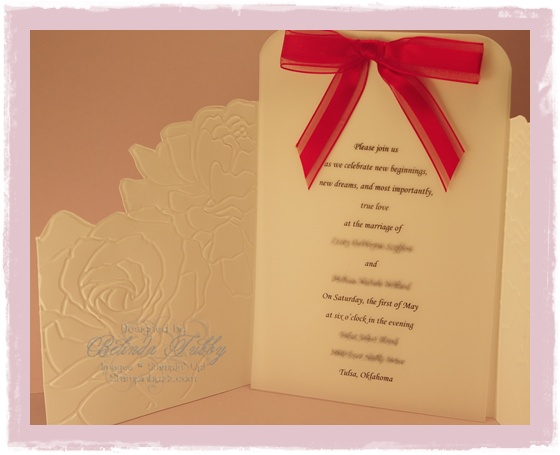
This is one of the projects I have been working on recently. I helped my niece make invitations for her upcoming wedding. We used the Manhattan flower impressions folder to make this neat trifold card. B.J. Smith has a great tutorial on her blog for creating this card. It doesn’t show in the photo, but these were misted with shimmer spray. They turned out really nice.

wedding invitation

We printed her information on vellum card stock and then added a bow. The area that wasn’t embossed with the folder was trimmed away to create the outside folds.

Thanks for looking!

Belinda


Stampin’ Stuff

Paper

Whisper White 12×12 ~ Vellum Cardstock

Fun Stuff

Manhattan Flower impressions folder ~ satin ribbon ~ Champagne Mist shimmer paint ~ Corner Rounder Punch


Medallion

Medallion

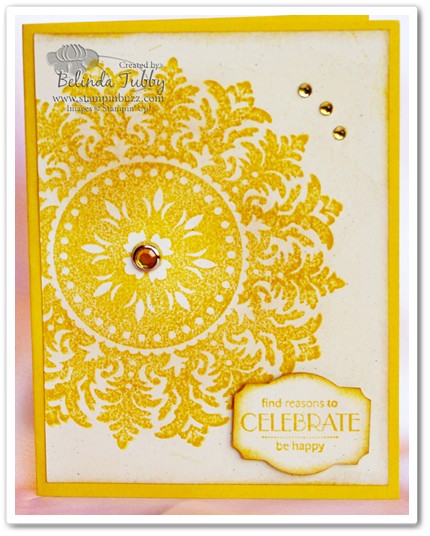
I finally got to play with my Medallion background stamp from the new catalog. As you can see, this stamp is not really meant to stay in the background. It makes quick and beautiful cards which can be used for many occasions.

This is a card that we made for stamp camp. You’ll recognize the Circle Rhinestone brad from the catalog, which really adds some elegant dazzle to the card. It needed something more to balance the card design, though. I thought about adding three of the smaller circle brads, but it seemed too much and I didn’t have enough on hand anyway. So what to do? That brings us to my new fave tip for all of those times when you don’t have just the right embellishment on hand. Re-color something you do have on hand!

In this case I mixed a drop of Crushed Curry Ink with some Crystal Effects and added a small drop on top of a rhinestone. I used this same technique on the pearls from the Pretties kit with the From the Crypt card in a previous post. The neat thing about Crystal Effects is that it usually will stay contained where you place it and will form a nice little mound. That is what it did here. The key is playing with it and seeing how much you need. Too much, results in a running or spreading effect. Just the right amount will mound up nicely. It is better to start with too little and add more if necessary. The CE will blend out if you have to add more. These kind of resemble a dew drop but have a little more depth and sparkle, very pretty.

You can also color the rhinestones and pearls using Sharpie or alcohol markers if you have the right colors on hand. Our dye based Stampin Write markers will also color the jewels. They need some drying time and sometimes two or three coats to get the desired color. I dab them with a soft tissue to remove excess ink before applying them to my projects.

These are all great ways to get that perfect added touch to your project

Happy Stampin!

Belinda


Stampin Supplies

Stamps

Medallion ~ Sweet Serendipity

Ink

Crushed Curry ~ Creamy Caramel

Paper

Crushed Curry ~ Naturals White

Fun Stuff

Crystal Effects ~ Basic Rhinestones ~ Fire circle rhinestone brads


Flight of the Butterfly

Flight of the Butterflies

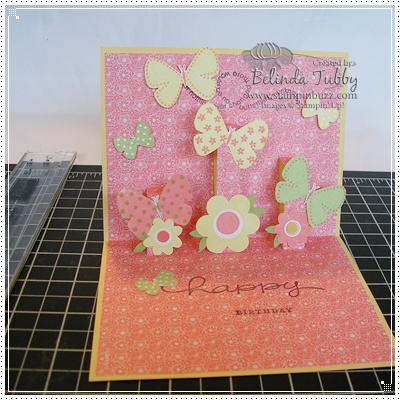
This is another card from my pop up class. If I used this design again, I would probably add some paper piercing or embossing to the card base. I had already added my inside pop up piece, so I couldn’t do that for this card without starting over!

It is really hard for me to make a card without DSP or embossing, now that I have gotten addicted to both concepts!

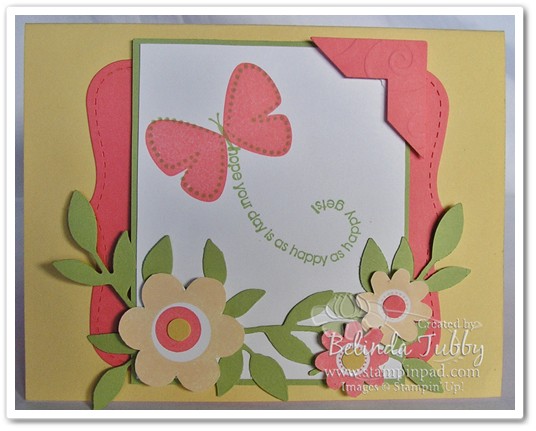
The top note die cut is cut in half and used as a layer behind my focal image and the little corner piece has been embossed with a texturz plate and then punched with the Photo Corners punch. The flowers are stamped and cut out and then layered on leaves cut with the little leaves sizzlet die. There is a 1/4 inch punched circle added to the flowers

You can find the tutorial here.

The inside of the card

butterfly pop up

Belinda


Stampin Supplies

Stamps

Flight of the Butterfly ~ Enjoy Every Moment ~ Happy Everything

Ink

Chocolate Chip ~ So Saffron ~ Cameo Coral ~ Certainly Celery

Paper

So Saffron ~ Whisper White ~ Certainly Celery ~ Cameo Coral ~ Retired DSP

Fun Stuff

Big Shot ~ Top Note Die ~ Little Leaves Sizzlet ~ Corner Punch ~ 1/4″ circle punch ~ 5 Petal punch ~ Backgrounds 1 Texturz plate ~ Butterfly Punch


Last Chance–Big Birthday Candle!

Big Birthday Candle

While you still have time……

Check out the Last Chance list! I will feature a few of my favorites that are going away, over the next couple of weeks. Don’t forget that you can order your new catalog for only $5 with the purchase of any retiring set through June 30th.

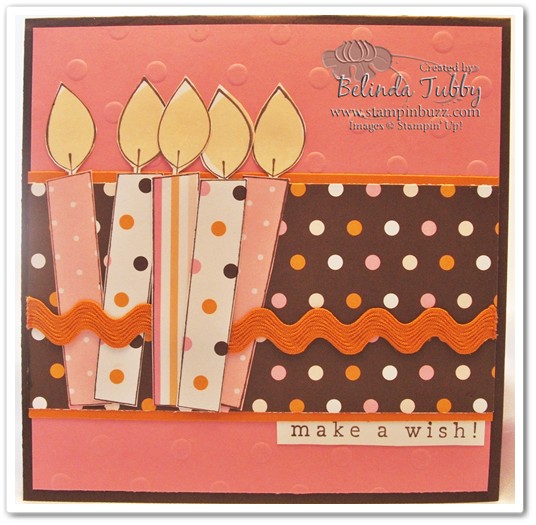
This is the front of the birthday cake pop up card from one of my StampFest kits. I had been wanting this set for some time and finally got it a couple of months ago. I am glad I did, because it ended up on the Last Chance list! This is one of those sets that earns a permanent spot in my stamp library. It is great for cards and scrapbbook pages. It will work for Christmas and other inspirational events as well.

Thanks for stopping by.

Belinda


Stampin Supplies

Stamps

Big Birthday Candle

Ink

Chocolate Chip ~ So Saffron

Paper

Pumpkin Pie ~ Whisper White ~ Chocolate Chip ~ Regal Rose ~ Sweet Always DSP

Fun Stuff

Big Shot ~Texturz plates ~ Pigtails ribbon originals


Adorable Forest Friends!

Forest Friends

Eeeeeeeeeeeee!!!!!

Yes! that is me squealing as I press the submit button! How stinkin’ cute is this card?!!

I had so much fun putting this together.

I was going through my samples and was really sad to remove that Merry and Bright diorama card that everyone loved. The original was a swap made by Nancy Hartzell. I thought, I have to make another one of these. Of course, this set immediately came to mind because I didn’t own it yet! So, now I do! I couldn’t wait to show you guys, and then I thought you might want to make your own at stamp camp in May. So this is now one of our stamp camp projects!

Forest friends

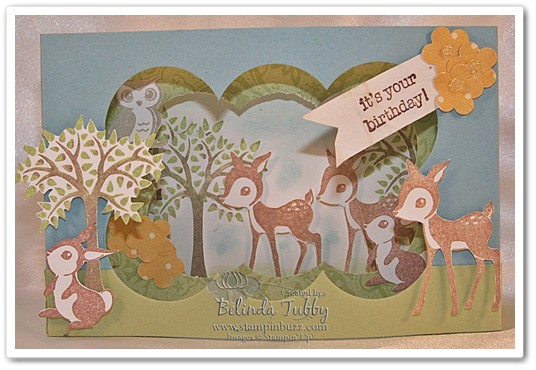
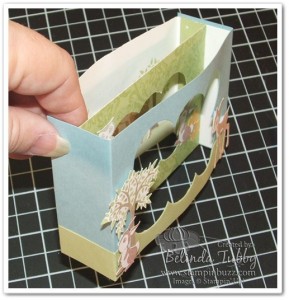
This picture gives you a better idea of what a diorama card is. They are really pretty simple to make, once you have the correct dimensions. I’ll be adding a tutorial for the diorama card here soon.

forest friends

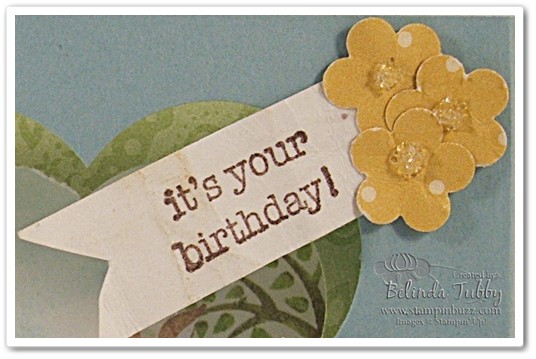
I like how the sentiment turned out. It needed something and this is what I came up with. Just a paper banner and some punched flowers. They are smushed to add a little texture and I added a dot of crystal effects and some micro beads to the center of the flowers. It really stepped it up.

Fun, Fun!! I hope you like it.

Happy Stampin’

Belinda