Stamp a Stack

These are the cards for this weeks Stamp a Stack

This month’s Stamp Camp is a Stamp a Stack! Your first stack is $7.50 and each stack after that is $5.00. Each stack is 5 cards of 1 design. Stamp 5 stacks for $25. You may also stamp one of each design for $10.  Join us at the Bixby Community center on Thursday, March 11 at 6:00 PM. Please RSVP with your card choices if you plan to attend. This is an all occasion SAS, so there will be several sentiment options as well as a few image options. Don’t forget to bring your favorite adhesive!
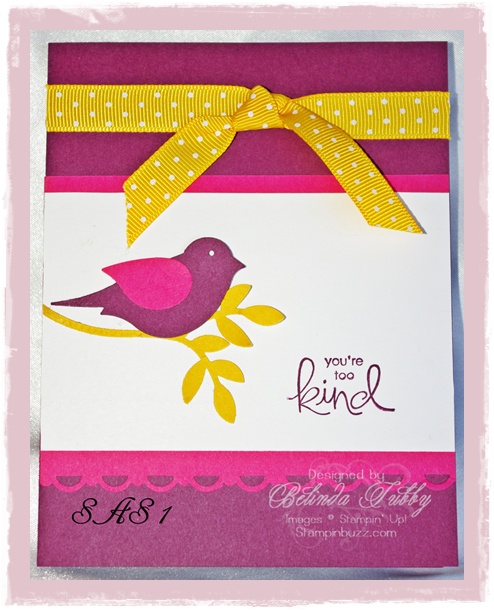
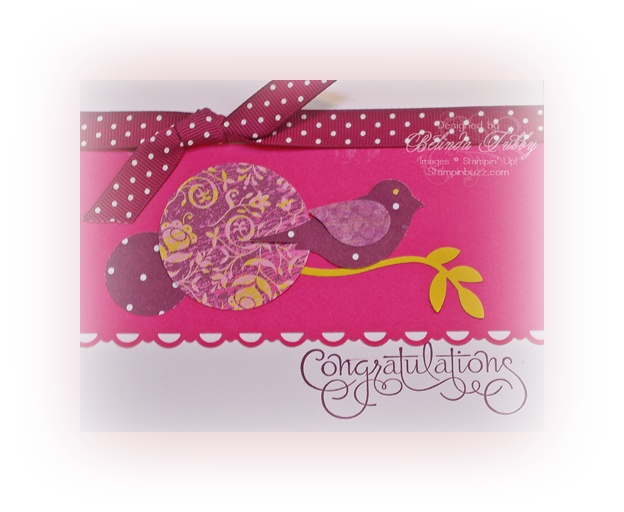
Two step bird punch

Card one uses the new Two Step Bird Punch and Scallop Border Punch. Very quick and easy card!
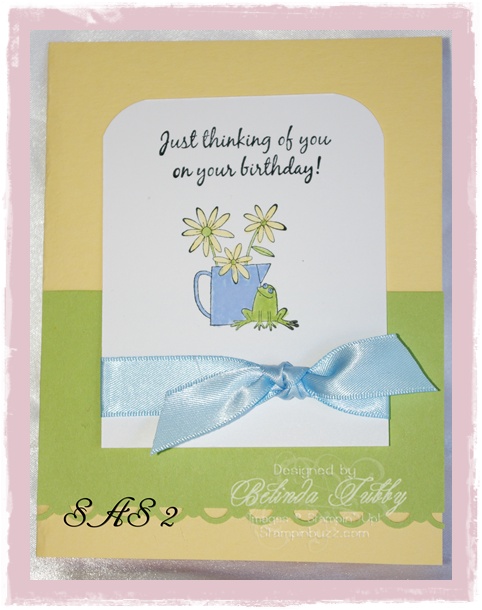
This card is also quick and easy and you will have a few image options.
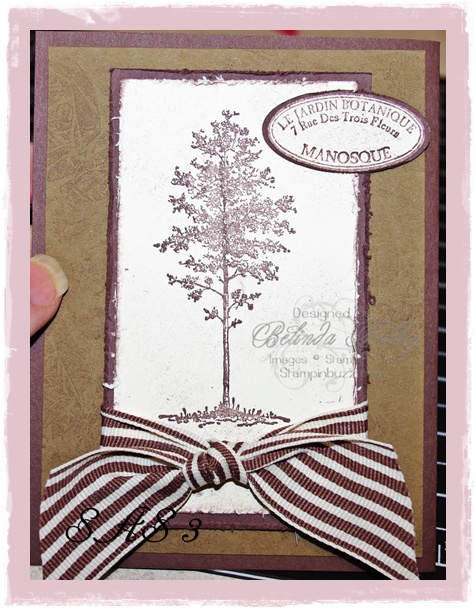
Le Jardin Boutanique

Card 3 is our masculine option, however it can work for several occasions and also will have alternate image and sentiment options.
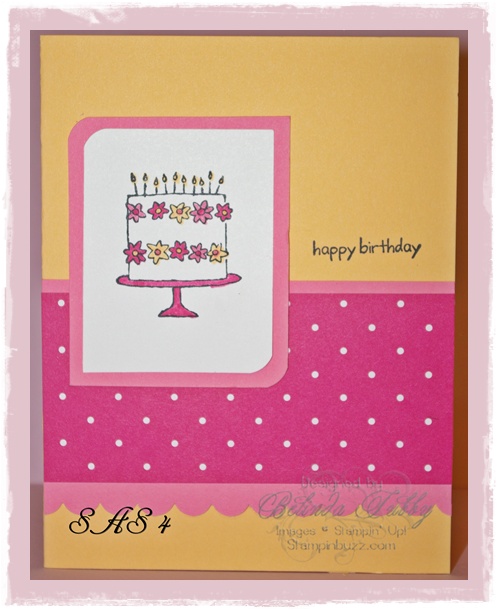
Another quick card with alternate image choices. This card uses one of the Sale-A-Bration sets.
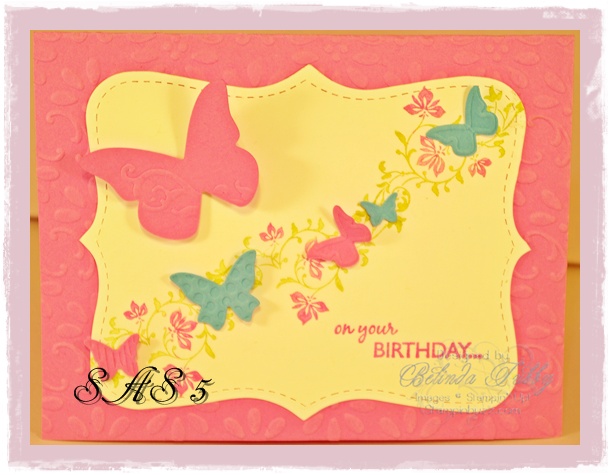
Beautiful Butterflies

Our last card choice uses those Beautiful embossed Butterflies. This card utilizes several Big Shot elements to step it up, but it is still a fairly simple card. I couldn’t get the lighting right, so the picture doesn’t do it justice. The colors are Pixie Pink, Certainly Celery, Tempting Turquoise and Whisper White.
An Inspirational Treat!

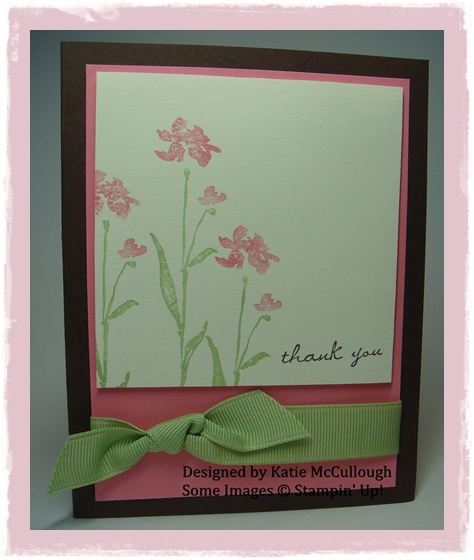
Today I have an inspirational treat for you! This beautiful card was created by Katie McCullough and is published in the current issue of Paper Crafts magazine! If you have attended stamp camp or StampFest, then you have probably met Katie. She is a little bundle of enthusiasm and sunshine and just great fun to stamp with!


Katie created this card for World Card Making Day and submitted it to Paper Crafts magazine. Hers was one of 20 chosen from almost 1000 entries! I think you can see why. It is a great design; simple but striking, wonderful color combination, great use of white space and of course, impeccably stamped and assembled.


I am so excited  for her and proud of her accomplishment! Katie wishes to encourage everyone to submit their creations, as she says “you just never know.”  I do suggest you follow her lead and begin with a great design and pay attention to detail. She has definitely inspired me.


Each publication is different in the way that they look for submissions, so check out your favorite magazine or website for details. You can read more about the contest that Katie entered here and while you are there read about Paper Crafts next contest, the 2010 Stamping Royalty Card Contest. They have some fabulous prizes up for grabs and one of them is a copy of Stampin’ Ups new digital software, My Digital Studio!


Congratulations Katie, thanks for sharing your artwork with us!

Good Neighbors

Good neighbors

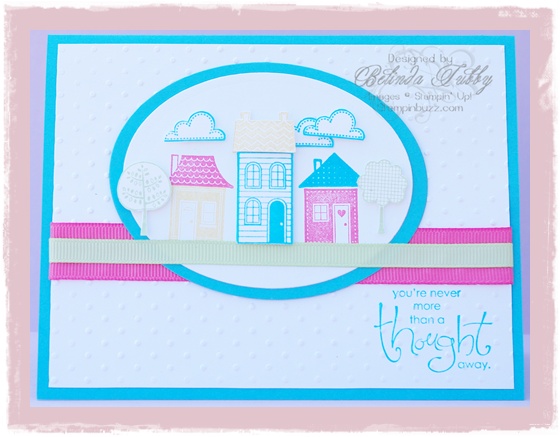
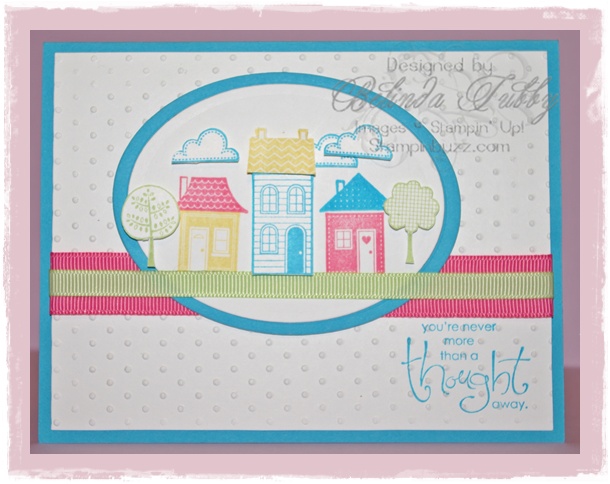
What a fun little set! This is one of the exclusive Sale-A-Bration sets this year. It’s kind of like playing with building blocks only you are building a little neighborhood! When I first saw this set, I thought it was adorable, but I wasn’t sure if I would find many uses for it. I have been amazed at how many sentiments work with it. Everyone loves the Whimsical Words set shown here (another great SAB set) and 4 of the 6 phrases are great with this set. The one pictured here was perfect, but I also like “follow your heart it knows the way”, ” You’re too kind” and “happiness always”. This set works for a lot of non-traditional cards like-We’ve moved, welcome home, miss you, congrats on a new home, welcome to the neighborhood and many more that I haven’t thought of, I am sure. Oooodles of fun!


Stampin Stuff

Stamps: Good Neighbors, Whimsical Words

Ink: Tempting Turquoise, Regal Rose, So Saffron and Certainly Celery classic inks

Paper: Tempting Turquoise and Whisper White card stock

Fun Stuff: Polka Dot embossing folder, Rose and Celery grosgrain ribbon, oval dies, Pop Dots

Beautiful Wings Embosslit

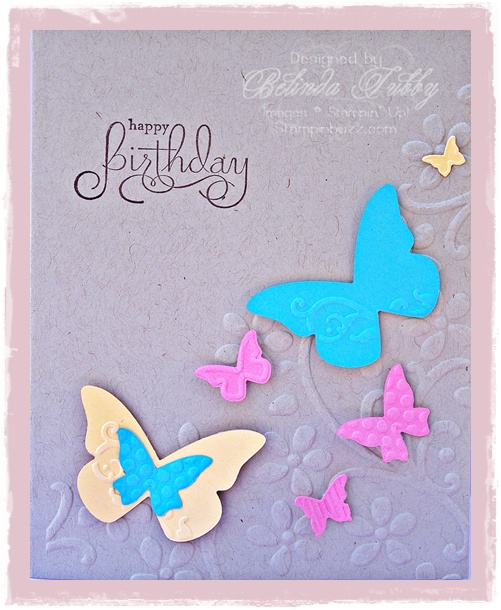
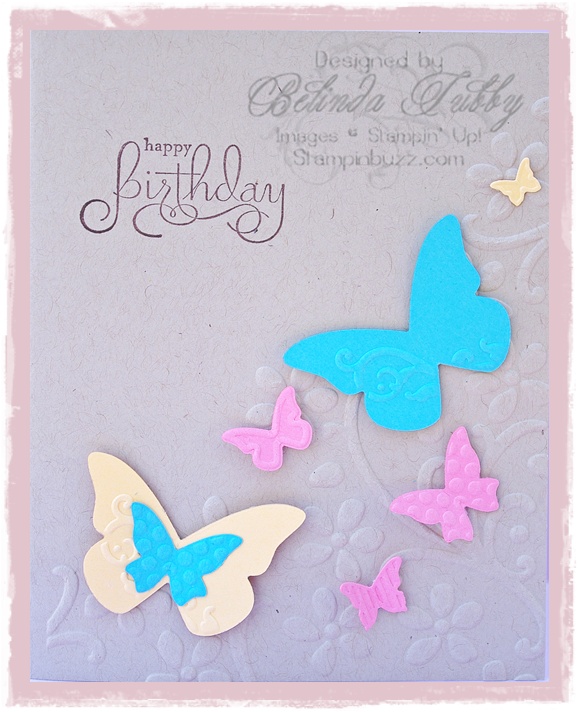
One of my favorite new tools for adding the WOW factor to cards are these wonderful little Sizzlet Embosslits. This card was made using the Stampin’ Up! Beautiful Wings Embosslit from the Occasions Mini Catalog. One quick little run through the Big Shot Machine gives you these beautiful butterflies, cut and embossed.


This card was incredibly quick and easy. I ran the Kraft card base through the big shot using the Elegant Bouquet embossing folder, stamped the sentiment and then attached the butterflies. So much fun!


Stampin Stuff

Stamps: Well Scripted

Ink: Chocolate Chip Classic Ink

Paper: Kraft, Tempting Turquoise, Regal Rose and Apricot Appeal card stocks

Fun Stuff: Big Shot Machine, Elegant Bouquet Textured Impressions folder, Stampin’ Up! exclusive Beautiful Wings Embosslit die, Pop Dots

Happy Valentine’s Day!

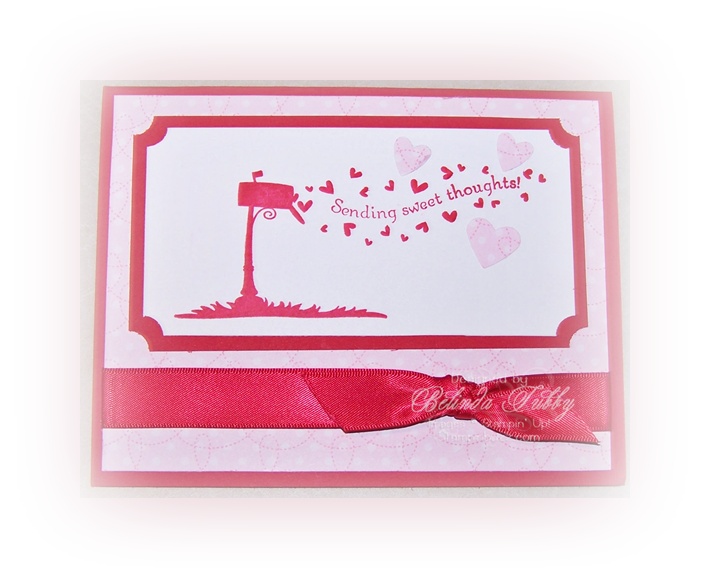
Here is a sweet little valentine we made at stamp camp last month. This is such a great set from the last mini catalog. Another one that I will keep forever.

I hope you all have a wonderful Valentine’s day full of sweet thoughts, sweet notes and all else that is sweet with your favorite sweetie!


Stampin Stuff

Stamps: Wandering Words

Ink: Real Red Classic Ink

Paper: Real Red and Whisper White card stock retired DSP

Fun Stuff: Ticket Corner Punch, Real Red Satin Ribbon, Small Heart Punch, Heart to Heart Punch

Holiday Best

Quick and easy valentine treat!

Holiday Best

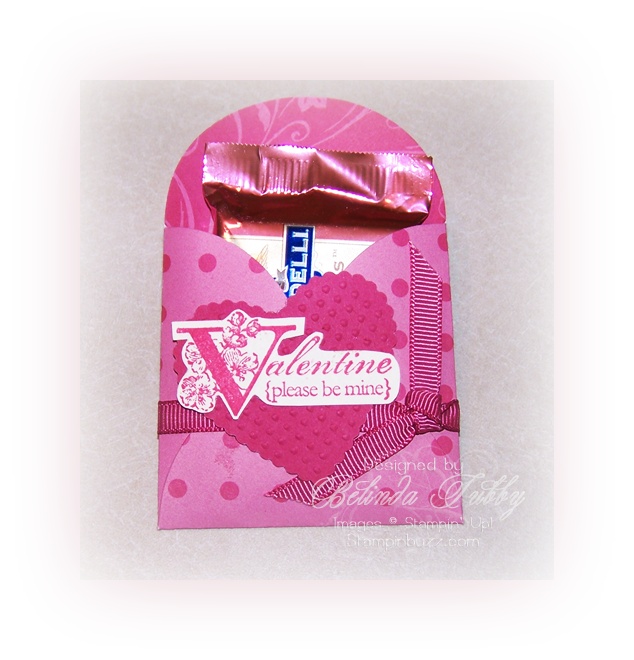
I adore this little saying set. It is a level one hostess set and it is at the top of my don’t miss list. I love the fonts and I love the graphics that are incorporated in the sayings. The sentiments cover all my favorite holidays and as you can see, make a perfect (and quick) focal point for any project. This one is definitely never leaving my stamp library. You only need $150 in sales (or purchases) to earn this little cutie pie, so if you know a couple of friends who also want to earn a sale-a-bration set; you’ve got yourself a catalog party (or a regular party if you need an excuse to stamp)! I love Sale-A-Bration! It is so easy to earn lots of FREE goodies!

This was one of our projects from last months Valentine camp. The Bigz Petal Card die makes a perfect sized envelope for Ghirardelli chocolate squares. Mmmmmm……… what a fun little treat. This project is super quick and easy. Don’t you love the little embossed heart? It is a Sizzlet die that cuts and embosses at the same time. I am already addicted to these little jewels. Alas, so many addictions, so little time!


Stampin Stuff

Stamps: Holiday Best

Ink: Rose Red Classic Ink

Paper: Rose Red and Very Vanilla card stock, Rose Red Patterned DSP

Fun Stuff: Bigz Petal Card die, Stampin’ Up! Embosslits heart of hearts die, Rose grosgrain ribbon,

I {heart} Hearts

I {heart} hearts

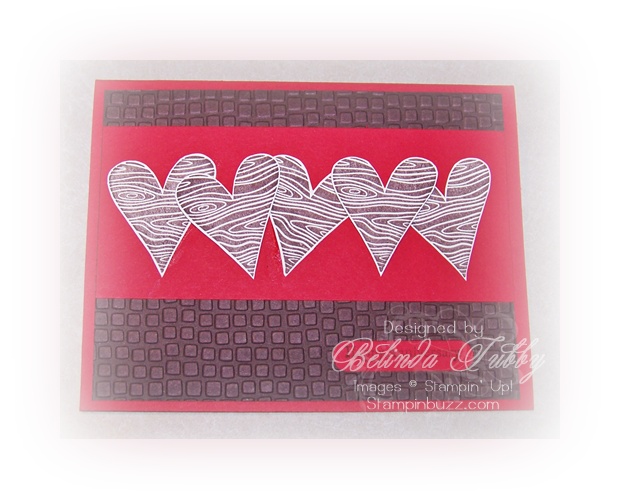
This is a masculine valentine that we did for Stamp Camp in January. Super easy and quick card. I have a ton of heart stamp sets that I have accumulated over the years and I almost passed this one by…….. aaaaahhh but this image spoke to me. A wood grain heart?! A must have for those gentlemanly cards!  This really is a great set, the images work with several of our heart punches and dies and if you purchase it before February 28th, Stampin’ Up! will  donate $2.00 from the sale to Haitian relief.


Stampin Stuff

Stamps: I {heart} Hearts, Teeny Tiny Wishes

Ink: Chocolate Chip Classic Ink

Paper: Chocolate Chip, Real Red and Very Vanilla card stock

Fun Stuff: Big Shot and embossing folder, Word Window Punch, Pop dots

Two Step Bird Punch

Here is a quick and easy card that could cover a multitude of occasions. The circles and bird are punched out of designer paper. I love all of the new punches, which make it a snap to create a card when you need one in a hurry! I also love this new Well Scripted sentiment set. Just delicious!


Stampin’ Stuff

Stamps: Well Scripted (Occasions Mini Catalog)

Inks: Rich Razzleberry Classic Ink

Paper: Melon Mambo and Crushed Curry card stock, Rich Razzleberry Patterns Designer Series Paper and Razzleberry Lemonade Designer Series Paper

Fun Stuff: Two Step Bird Punch, 1 3/4 inch Circle Punch, 1 inch Circle punch, Scallop Trim Border Punch, Rich Razzleberry dotted ribbon

Satin Ribbon Share

How about another Ribbon Share?

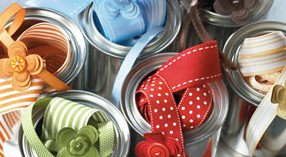
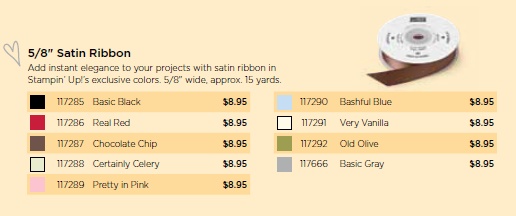
This ribbon share features our new Satin ribbons from the Occasions mini catalog. These ribbons are gorgeous and add the Fab to your creations! They tie up easily and beautifully, too. We will need 5-7 participants for each share. Each share is $15 for 2 yards of each color or $21 for 3 yards of each color. You will receive each of the 9 colors in the mini, plus the white satin ribbon from the big catalog.  If you live locally, that includes your tax and shipping. If you are long distance, priority shipping will be added to your total. Let me know if you would like to participate in a share and I will let you know as soon as each share fills up. Ribbon shares cannot be combined with other workshop or customer orders and therefore  are not eligible for Sale-a-bration orders.

Contact Me

This ain’t Girl Scout Camp!

Today, I have a tutorial for you. I love pretty bows, but I am bow challenged. A Month or so ago, I got to thinking. My embellishments don’t need to be functional. They just need to be purty. We’re not securing a weeks worth of camp supplies to the top of the car, it’s a decoration for heaven’s sake. Yes, I know there are some people who can tie perfectly beautiful bows with little effort, the old fashioned way. They probably look good in a bikini and have their Christmas tree neatly packed away by Martin Luther King’s birthday, too. I like to tell myself that I must be a much happier person than they,  with no bleeding ulcers to contend with.  So……. I came up with a cheater bow. After some trial and error, this is how it works.

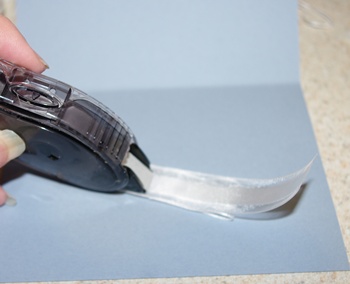
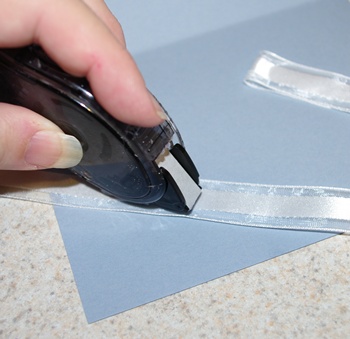
For this particular bow, you will need 3 pieces of ribbon just under 6 inches long and a tape runner like our Snail adhesive. In the very center of the first length of ribbon, run a very short strip of adhesive (about 1/4 of an inch). Too much tape will cause your bow to smoosh down where you might not want it to.

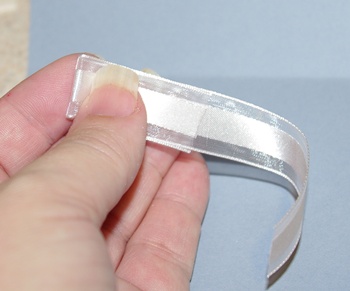
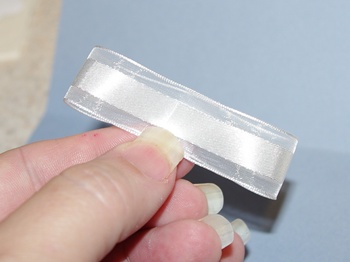
Fold half of the ribbon to the center and secure it over the adhesive. Add another bit of adhesive over the raw edge at the center and fold the other edge in.

Your first piece should look like this.

Add  tape to the center of the second piece of ribbon.

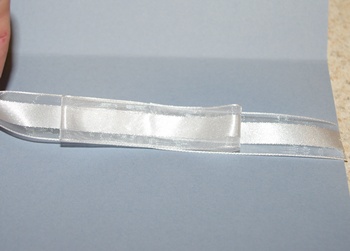
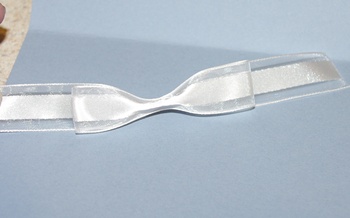
Attach the folded piece to the second length of ribbon. Make sure the raw edges are to the center and the smooth side is showing. Flip this piece over and to the back of the longer section, add another bit of adhesive.

From the front of the shorter piece, fold the ribbon in the center and pinch as shown. The tape you just applied to the back will hold the fold for you.

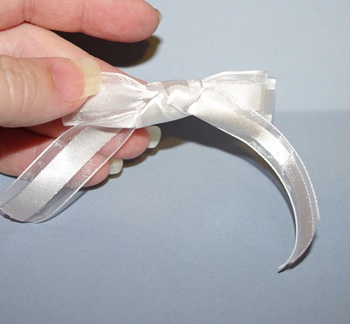
Now take the third piece of ribbon and tie it loosely around the pinched area so that you have two tails hanging down. Tighten and arrange the tails until you have them looking the way you would like.

Perhaps, something like this. Trim the ends to your liking.

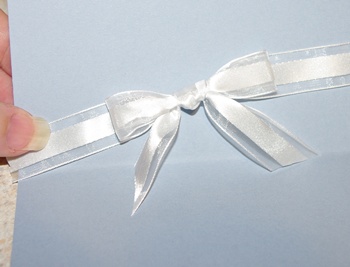
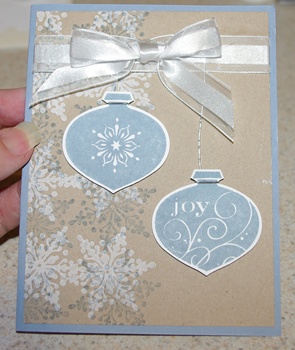
Now you can add adhesive to the back of the ribbon strip and attach it to your card stock.

Actually, this picture was taken from an earlier version, before my cheater bow was perfected. It is just laying over another strip of ribbon, but I like the way the one above looks like it was tied that way. I know, Bikini woman would have gotten the camera back out and taken a new, corrected photo, but that would have caused me too  much stress.  Bikini woman is at the doctor inquiring about a hives outbreak, so she couldn’t do it either.

I hope this takes some of the stress out of your stamping sessions that require a bow!

Happy Stampin’