Little Friends

Little Friends

This is another card that we made for Dyan’s hostess stamp camp. I like to keep the cards very simple for these camps, especially when there are new stampers there. When you are making 25 cards in one evening, it can get a little overwhelming. These new stampers jumped in with both feet though and once they started playing with the embossing folders, some were embossing everything! So my little card looked  plain, next to theirs. Still this Little Friends image takes center stage, that little guy is so cute!

Hope you get to stamp today!

Belinda


Stamps

Little Friends

Ink

Black StazOn ~ Riding Hood Red ~ Not Quite Navy ~ So Saffron ~ Always Artichoke ~ Crumb Cake

Paper

So Saffron ~ Riding Hood Red ~ Very Vanilla ~ Polka Dot Parade DSP

Fun Stuff

Scallop Border Punch ~ So Saffron taffeta ribbon ~ Blender Pens
~ Circle Dies


Our New Border and Corner Punches

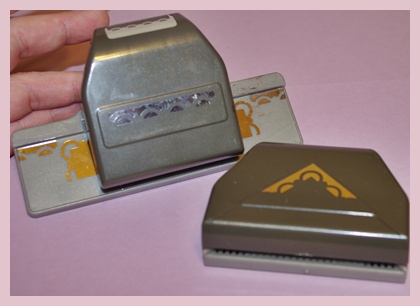
These are the new border and corner punches. The Scallop Trim border punch is one of the FREE Sale-A-Bration items that you can choose (until March 31st) when you purchase $5o in Stampin’ Up! products. It has been wildly popular along with the coordinating Scallop Trim corner punch, so I thought I would prepare a tutorial on how to use them.

To get a perfectly punched border all around the card stock you do need to begin with specifically sized pieces of card stock.

The sizes that work  best for cards are……
4 3/4″
4 1/4″
3 13/16″
3 1/4″
2 7/8″
2 3/8″
1 15/16″ (this square uses only the corner punch and layers perfectly with our two largest square punches)

Want a rectangle mat? Just use one of these dimensions for two of your sides and choose another dimension for the other two sides for lovely  rectangle mats. Many thanks to Gretchen Barron for doing the math on this!

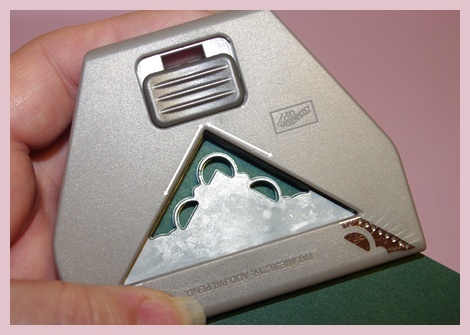
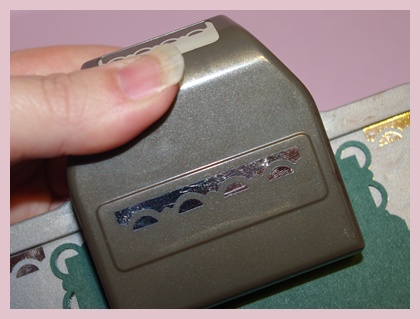
Begin by punching the corners of the mat. Flip your punch over and insert the paper from the back. You will place your card stock squarely in the corner of the viewable area of the punch. I have added arrows to this photo to indicate that you will bring the card stock right up to the corner, the paper will not slide back further under the punch.

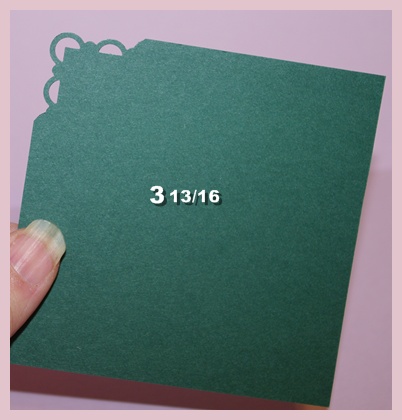
This card stock was cut to 3 13/16 square. Continue until you have punched all 4 corners

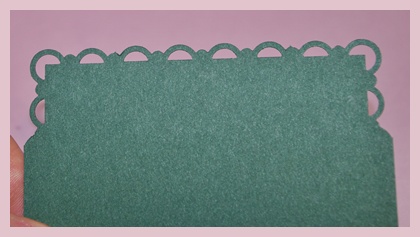
Your card stock will now look like this.

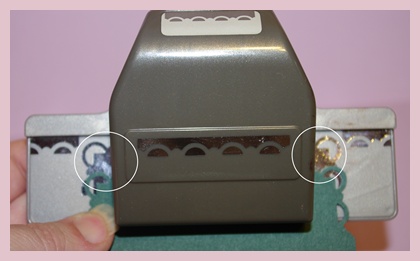
Line your corners up over the corner markings printed on the border punch as indicated by the white circles. This is the only size where the corners will line up exactly. For other sizes you will start on one side or the other and punch across.

You will line your corners up and only punch once on this size card stock.

After you punch, your card stock should look like this.

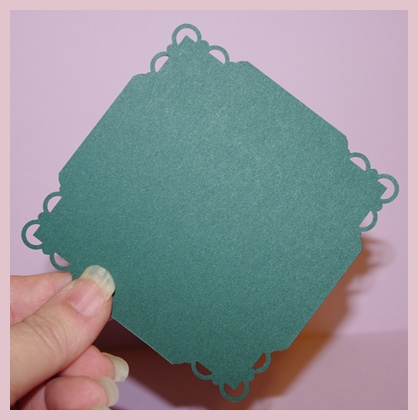
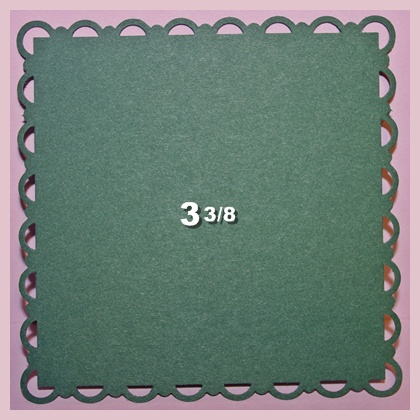
When you have punched all 4 sides you should have  a lovely scalloped mat. The inside square of this card will measure 3 3/8 inches. So you would want to cut your next layer at 1/8″ or 1/4″ smaller.

Belinda