Harvest or Thanksgiving Blessing Mix


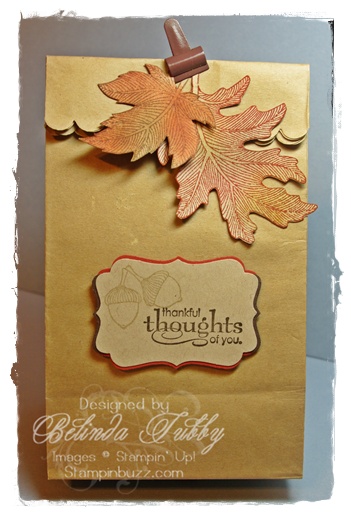
This is another project we did for stamp camp this month. We used the little brown paper bags from the Holiday mini catalog to present a gift of Harvest Blessing Mix. We have done this with a cello bag and topper in the past, but the harvest mix was the first thing I thought of when I saw these little bags! This is also called Thanksgiving Blessing Mix.
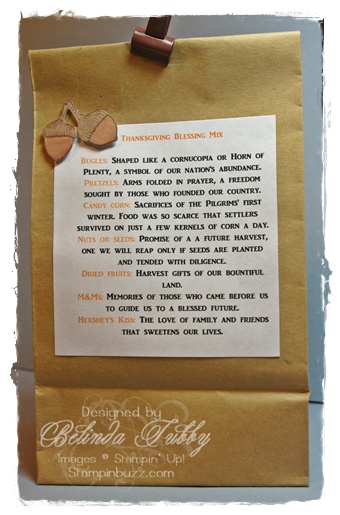
Harvest Blessing Mix
We stamped a quick tag using the new Decorative Label punch and sponged a couple of leaves from the Autumn Splendor set. The blessing mix ingredient list was printed off on the computer and attached to the back of the bag. You can find the printout with the recipe for the mix and the ingredient label here.

Enjoy!

Belinda


Stampin Stuff

Stamps

Autumn Splendor ~ Grateful Greetings

Ink

Crumb Cake ~ Cajun Craze ~ Early Espresso ~ Riding Hood Red

Paper

Cajun Craze ~ Crumb Cake ~ Early Espresso

Fun Stuff

~ Decorative Label punch ~ Mini Library Clips ~ Mini Lunchbags


Autumn Splendor

Autumn Splendor

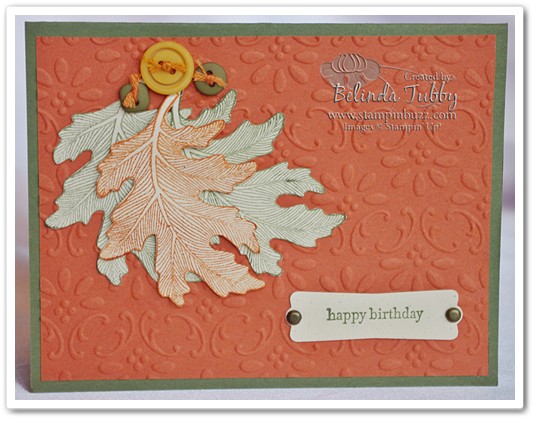
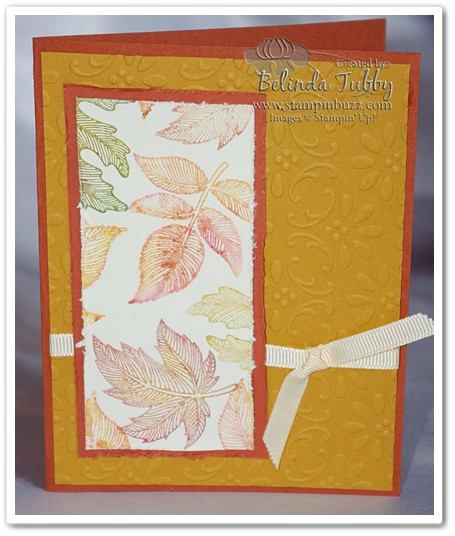
More fall fun with the Autumn Splendor set! These are cards we have been doing at workshops and Stamp Camp this month. Both are very simple in design but the embossed background really adds such a beautiful effect to the card, and it is so easy to do! Just slide your cardstock into the folder and then run it through the Big Shot Machine.

For this card we just added a few cut out leaves, buttons and a punched sentiment.

Stampin’ Stuff

Stamps: Autumn Splendor and Teeny Tiny Wishes

Inks: Really Rust and Always Artichoke Classic Inks

Paper: Naturals White, Really Rust and Always Artichoke card stock

Fun Stuff: Big Shot Machine and Finial Press Embossing Folder, Modern Label Punch, Vintage Brads, Earth Elements Buttons, Embroidery thread, Mini Glue Dots

Autumn Splendor

This card also uses the Autumn Splendor set and no ink! We stamped the image using the watercolor crayons. This is a fun technique to use when you need gradient color and this is the perfect set for it! Simply apply the color directly to the stamp with the crayon. Be careful to make sure the entire image is colored. Use two to three colors on your image. When you have applied the crayon, spritz the stamp with a fine mist of water and then stamp directly onto your cardstock. The water will blend the colors and you will get a lovely watercolor effect.

Tip:When adhering embossed or textured card stock, I like to use our Tombow Multi glue for a more permanent bond.

Stampin’ Stuff

Stamps: Autumn Splendor

Paper: Very Vanilla, More Mustard and Really Rust card stock

Fun Stuff: Big Shot Machine and Finial Press Embossing Folder, Very Vanilla 1/4 inch grosgrain Ribbon, Watercolor Crayons, Distressing tool from the Cutter Kit

I hope you get to stamp this week!

Cracked Glass Technique

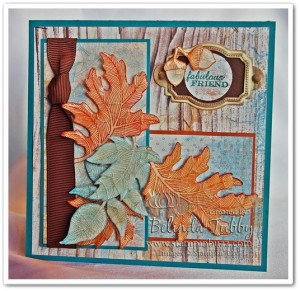
Here is a tutorial on how to do the Cracked Glass Technique from my previous post. For this card, I stamped and cut out the image. You could however, simply cover any watercolored image and get a dramatic effect.

Cracked Glass Technique

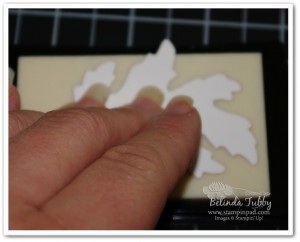
Take the image you want to cover and smush (technical term) it down into a Versamark Pad. Versamark Ink is a clear watermark medium that remains wet for a while, so it is perfect for embossing. It has a little bit of a sticky consistency which really grabs embossing powder. You need a clear ink for this technique. Regular embossing ink would work well. Just don’t use a tinted one.

Make sure your image is completely covered with the Versamark.

Cracked Glass Technique

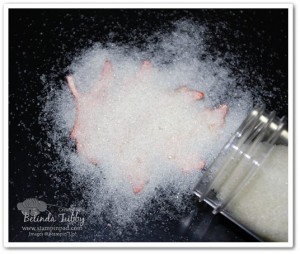
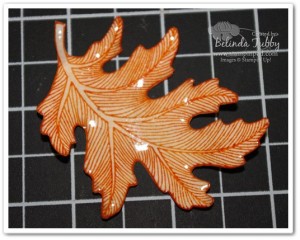
Sprinkle Glassy Glaze Embossing Powder over the entire image. Glassy Glaze is a thick embossing powder. The granules are much larger than in the detailed powders. This powder is preferable, because you want a really thick coat for your final piece. It would take many more coats of a finer powder to achieve the same result. If you don’t have a glassy glaze any clear powder will work, with additional coats.

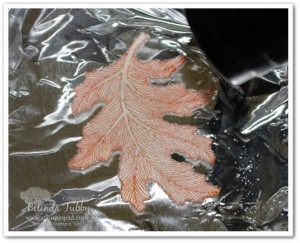
The next step is to heat the powder until it liquefies, leaving a shiny coating on your piece. You will need a heat gun specifically for this technique. We carry an excellent one in the catalog which is very high quality.

Cracked Glass Technique

If you do not have a heat gun, you can sometimes emboss by heating your piece from the backside over a hot iron.  I don’t suggest it with this technique though, because the very thick coat becomes messy and difficult to work with, and would probably leave a permanent mess on your iron.

I frequently am asked if you can use a blow dryer to emboss and unfortunately, you cannot. A blow dryer doesn’t get hot enough to melt the powder and the fan is too powerful and will blow all of your powder away.

I like to line a box with tin foil and place my piece down inside the box. The foil helps it heat more quickly and evenly and the piece is more contained inside the box.

Cracked Glass Technique

After your powder has melted and cooled, repeat the previous steps 2-3 more times until you have a very thick coating of the shiny glaze.

Cracked Glass Technique

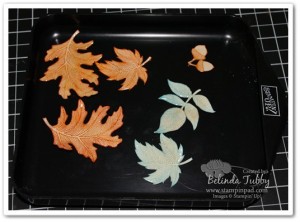
Place your embossed images on a tray of some kind and put them in your freezer.

If you don’t have access to a freezer where you are crafting, you can still get the same effect. You just have to let the images cool and cure till the glaze is hard enough to crack. The freezer speeds up the process.

Cracked Glass Technique

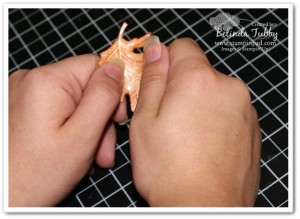
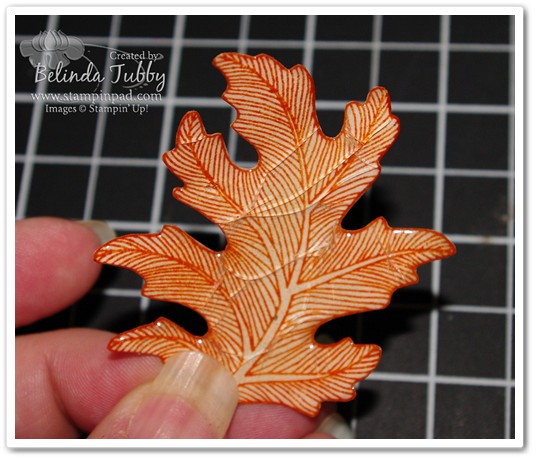
After about 10 minutes in the freezer, slightly bend or twist your piece to make several cracks. The key word here is slightly, too much exuberance in this step can make your glaze lift right off your image.

Refreeze if your piece needs to harden up in a specific area. It will become less brittle, the longer it is out of the freezer.

Cracked glass technique

Your finished piece will take on the lovely look of a cracked piece of glass.

You can rub some dark ink into the crevices for a more antiqued look. The ink will also dull the shine a little, so experiment with this process to get the look you are happy with.

autumn splendor

Here is the finished card.

I hope you get to play with this technique soon. It really adds the WOW, to your artwork.

Happy Stampin’

Belinda