Festive Flurry Thinlet

Festive Flurry

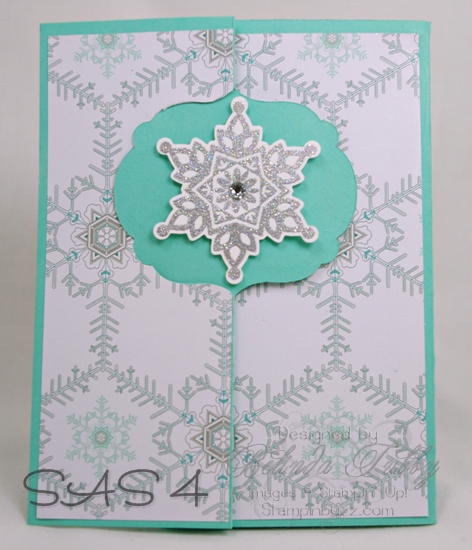
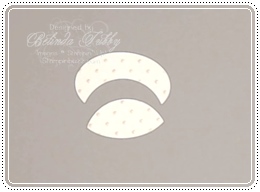
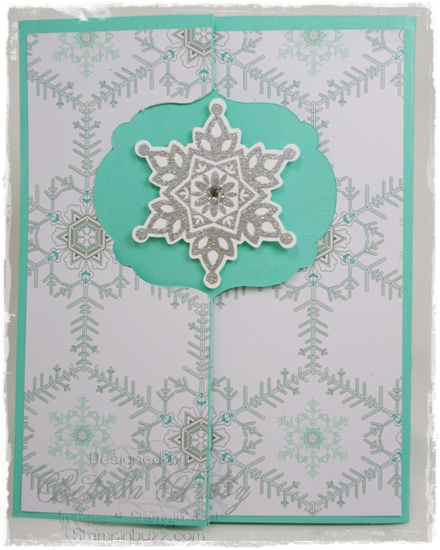
I have always loved making flip cards, but the process in the past was fairly involved. Our new thinlet dies make them so quick and easy! I extended the card by using a piece of card stock that was 8 1/2″ and allowed the end to sit over the back edge of the die rather than under it where it could be cut. Doing this makes a little line on your card that is the perfect place to fold it so that now you have a gatefold card with a flip mechanism as well.

Festive Flurry

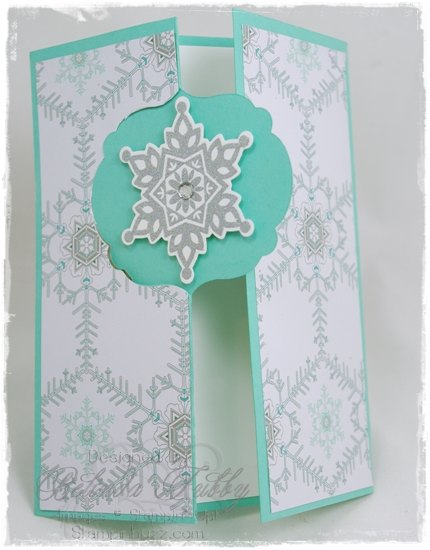
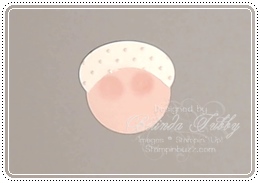
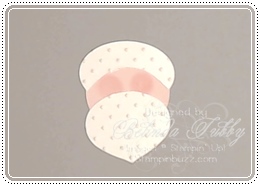
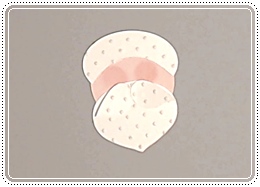
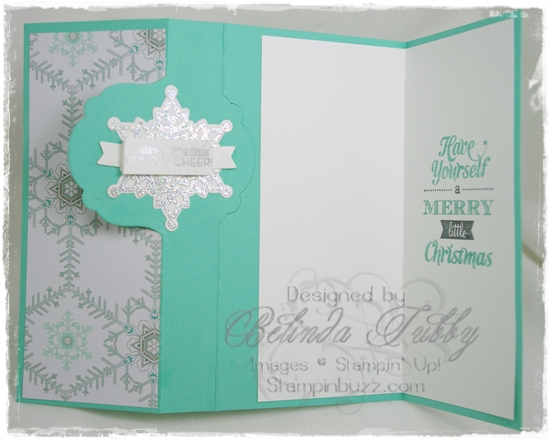
This picture shows the gatefold opening. The picture below shows the surprise greeting on the flip side and the message on the gatefold. I like this added  length to the card because there is still plenty of room to include a hand written message.

Thinlet flip card

Thanks for stopping by!

Belinda


Stampin’ Stuff

Stamps

Festive Flurry ~ Merry Little Christmas ~ Christmas Tagables (photopolymer)

Ink

Silver Encore ~ Smoky Slate marker ~ Coastal Cabana marker

Paper

Coastal Cabana ~ Whisper White ~ Winter Frost DSP stack

Fun Stuff

Big Shot ~ Label Card Thinlets ~ Festive Flurry framelits ~ Iridescent Ice EP ~ Basic Rhinestones

Be Merry

Be Merry

This is a quick and easy card using one of our single stamps called Be Merry.  It is very similar to our tag from the Chalk Talk set and so I was able to use the Chalk Talk framelit to cut the tag opening. I stamped the image (masking off the to-from at the bottom) I cut it out by hand (it is larger than the framelit) and then I slipped the top of the cut piece under just the metal piece that makes the cut out. The rest of the card piece was laying on top of the framelit and I ran it through the Big Shot.

I added a big bow using the 1″ grosgrain from the Holiday Catalog and a few Candy dots to fill in the open space at the bottom. Quick and easy!

Belinda


Stampin’ Stuff

Stamps

Be Merry

Ink

Cherry Cobbler ~ Old Olive Marker

Paper

Cherry Cobbler ~ Whisper White ~ Season of Style DSP

Fun Stuff

Big Shot ~ Chalk Talk framelits ~ Cherry Cobbler 1″ grosgrain ~ Regals Candy Dots

Cheers!

Cheers

Here is a festive card for the Holidays! I wish the camera could catch the sparkle better, it is so much prettier in person. I love our glimmer paper for that reason, you get the glitter without the mess and the sparkle is just FABULOUS. In my head that sounded a lot like Jim Carrey with a finger snap at the end! The little brad is one of our glimmer brads, and even though the bow, ink and paper are Cherry Cobbler, somehow the red glimmer paper works and doesn’t look too “red”.

I hope you get to stamp something Christmasy today! [Yes, that is a word. It’s not in the dictionary, but it should be. Cheery, snowy, Christmasy. (Spelling may vary depending on my mood)]

Belinda


Stampin’ Stuff

Stamps

Cheers

Ink

Gumball Green Marker ~ Cherry Cobbler Marker

Paper

Gumball Green ~ Whisper White ~ Season of Style paper stack ~ Red Glimmer paper

Fun Stuff

Big Shot ~ Festive Flurry framelits ~ 2 1/2″ Circle punch ~ Cherry Cobbler seam binding ~ Brights Glimmer Brads


Joyful Christmas

Joyful Christmas

I have had to emboss this set every time I have used it. It just doesn’t need much else and the heat embossing is so pretty. The flowers and leaves are hand cut. That seems like a lot of work, but they really cut pretty quickly. I just popped them on a dry embossed background (retired folder) to finish the card.

I hope you get to stamp today!

Belinda


Stampin’ Stuff

Stamps

Joyful Christmas

Ink

Versamark

Paper

Whisper White ~ Cherry Cobbler ~ Garden Green

Fun Stuff

Big Shot ~ Apothecary Accents Framelits ~ Lacy Brocade TIEF ~ Gold embossing powder ~ Embossing Heat Tool ~ Basic Pearls


Christmas Stamp a Stack 2013

These are the card choices for Stamp a Stack, Stamp Camp next Thursday. I will be adding them throughout the day today.  Stamp Camp is next Thursday, November 14th, 6:00-9:00 PM at the Bixby Community Center. You must RSVP with your card choices to attend. Each stack is 5 cards of 1 design. Your first stack is $7.50 and each stack after that is $5.00 OR you can choose 5 stacks for $25.00. You may also stamp one of each card design for $10.00.

Ornament Keepsakes

Keepsake Ornaments

Endless Wishes

Endless Wishes

Joyful Christmas

Joyful Christmas

Let me know if you would rather do this one in green or red!

sas3

Festive Flurry

Flip Card

This is a flip card using the new thinlet dies. Backgrounds for this card may vary somewhat.

Wishing You

Wishing You

This is just a prototype of this card using washi tape. My Wishing You set won’t get here till Monday and that is the actual set I am using for this card. I am moving the layout just a little and there is a cute Santa from the Tag It set that can be used on this card also, plus varying backgrounds.

RSVP Here


Stamp a Stack for StampFest!

 StampFest 2013

July 12-13, 2013

The event is $25 per person for the entire weekend or $15.00 for Friday OR Saturday only. Doors open at noon on Friday (July 12th). You may stay as late as you like on Friday or Saturday and come and go as you please.

Your StampFest fee gives you access to the room for either day or the weekend and that includes the use of the following stations….

  • Stamp Station: I will have all of the stamps available for any kits or cards that I am offering plus 20-30 sentiment sets. Each participant can also choose up to 10 additional sets that they would like to have available for the weekend for everyone to use.
  • Color Station: I will have 60 different colors of ink and markers available, as well as specialty pads, chalks, pencils and other items for coloring your stamps and images.
  • Cutting/Tool Station: I will have all of my punches, Big Shot, die and framelit collection available for you to use all weekend. I’ll also have all of my embossing folders and various other cutting, scoring and piercing tools for you to use. I will  have additional tools like heat guns, crimpers, cropadile etc.
  • My Digital Studio Classes: $10.00 for an hour and a half session, no room fee required. Basics or Advanced sessions (call or email me for times and details 918-827-6148) You do not have to pay the room rate for these sessions.

Kits are not included in the StampFest fee, and they are not required for attending. You may bring your own paper/projects and work on those all weekend or you may order from the kit selection beginning Tuesday, July 2nd. There will be 7 Stamp A Stack selections (2 Christmas) and then I will have packets of precut cards from stamp camps that can be purchased individually as supplies last. Additional kit offerings will be available on my blog and in an additional sign up email that I will be sending out on July 1st

I’ll also have a table of retired items for sale at great prices. This will include stamps, papers, pads and other items. You do not have to pay the room fee if you are only dropping by to shop the retirement items.

Here are the Stamp a Stack selections. (Timeless Talk, Hearts a Flutter, Secret Garden, Six Sided Sampler, Cycle Celebration)

Timeless Talk

Timeless Talk

Hearts a Flutter

Hearts a flutter

Secret Garden

Secret Garden

One in a Million

six sided sampler

Cycle Celebration

Cycle Celebration

I pulled out some of my favorite retired sets for our StampFest Christmas choices!

Post Card

vintage

Stitched Stockings

stitched stockings

Each stack is 5 cards of one design. Your first stack is $7.50 and each stack after that is $5.00 or you may stamp 5 stacks for $25.00. You may also choose to stamp one of each design for $10.00.

Belinda


Santa Punch Art

petal cone santa

I am sure you are wondering what in the world I am doing posting a Santa punch art tutorial in May! For those who are signed up for my newsletter, I am doing a series through Christmas geared toward organizing and preparing for the holidays early. Each newsletter has a section on getting ready for the holidays and each month on the 25th I am going to dedicate a post here with the same theme. The idea is to set aside specific day for working on creating the most fabulous holiday we can imagine. The series theme is A Pinterest Christmas, so you know we have a million ideas on that!  I chose the 25th of each month. Easy to remember. If you would like to play along, just sign up for my newsletter for the entire series. You can sign up by filling out the form in my side bar.

I was asked to share a tutorial for this punch art  Santa as part of the series. Since this ornament punch is retiring at the end of this month, I decided that I better hurry and fit it in now! Originally I used it on this petal cone die box (also retiring, which makes me very sad!). This tutorial shows an additional step or two for creating a hat for the santa.

Picture 40

You will need to punch the pieces as shown in this photo. Emboss a Whisper White piece of card stock using the Perfect Polka dot folder and punch an ornament, a large oval, two wings from the Bird Builder punch and the circle from Itty Bitty shapes. Then punch a Cherry Cobbler pennant with the Pennant builder punch, Blush Blossom Itty Bitty circle and 1 3/4″ circle and then two 1/4″ Basic Black circles. When you are punching the wings for the mustache, punch one and then flip the card stock over and punch the debossed side. This way you will have two wings pointing different directions.

Picture 37

Create a handle for the Large Oval piece and use the 1 3/4″ circle punch to trim away part of the Large Oval as shown.

Picture 39

Picture 43

Attach the partial oval piece to the pink circle and sponge on some cheeks using a sponge dauber and Blushing Bride ink.

Picture 44

Trim off the top of the ornament  and attach as shown.

Picture 45

Add the two wings to form the mustache. I did not pop these up for this sample, but I think I will from now on, it gives it more definition. Bend the pennant piece over as shown to form the hat.

Picture 47

Add the white circle to make a pom for the hat and attach as shown.

Picture 48

Finish the punch art piece by adding commas to the eyes, using a white gel pen.

Thanks for stopping by

Belinda


Make a Mitten

Make a Mitten Stampin up
This is a variation of a card I posted for our Christmas Stamp a Stack. Love the Sweater Trim from the Holiday Catalog. I used a frayed piece of it on the mittens. I like this layout, it makes a  quick and easy Christmas card.

Thanks for stopping by!

Belinda


Stampin Supplies

Stamps

Make a Mitten ~ Petite Pairs

Ink

Baja Breeze ~ Cherry Cobbler

Paper

Baja Breeze ~ Cherry Cobbler ~ Whisper White ~ Snow Festival

Fun Stuff

Big Shot ~ Delicate Doily Sizzlet Die ~ 2 1/2″ Circle Punch ~ Cherry Cobbler Sweater Trim